- ページ 8
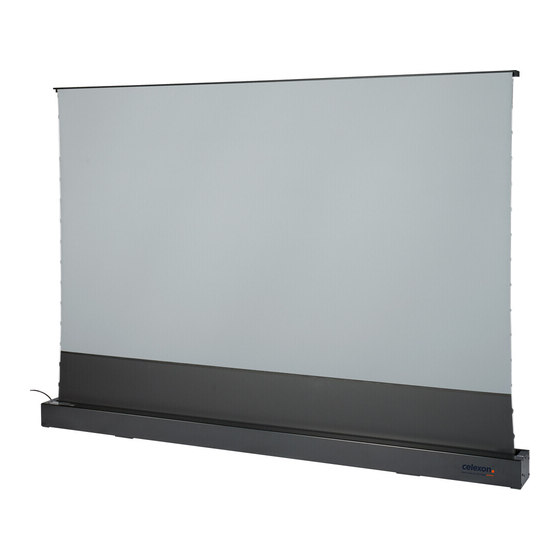
プロジェクターアクセサリー Celexon HomeCinema CLR USTのPDF 取扱説明書をオンラインで閲覧またはダウンロードできます。Celexon HomeCinema CLR UST 12 ページ。 Electric floor high contrast screen
Celexon HomeCinema CLR UST にも: 取扱説明書 (11 ページ)

STEP 2: FABRIC ATTACHMENT
We recommend that you carry out the following steps with a second person.
Caution: The projection screen surface is extremely sensitive! Please carry
out the installation of the projection screen surface with the utmost care. Take
care not to bend the projection screen surface and do not touch it. Use the
enclosed protective gloves (V) for mounting.
1.
Lay the protective foam sheet (G)
on a fl at surface and secure the
corners, ideally with a few strips
of painter's masking tape to pre-
vent the underlay from rolling in.
Roll out the projection screen fa-
bric (F) centrally - The projection
side must be facing downwards.
2.
Carefully push the tension rods
(H) into the outer tabs of the
projection screen fabric: 1x long
tension rod each for short frame
sides, 2x short tensioning rods per
long fabric side. The rods must not
be pushed through fabric one over
the other, but butt against each
other in the middle. Then lay the
previously built frame with the fl at
front side onto the centre of the
projection screen fabric.
Fig 10.
Fig 11.
7
