- ページ 9
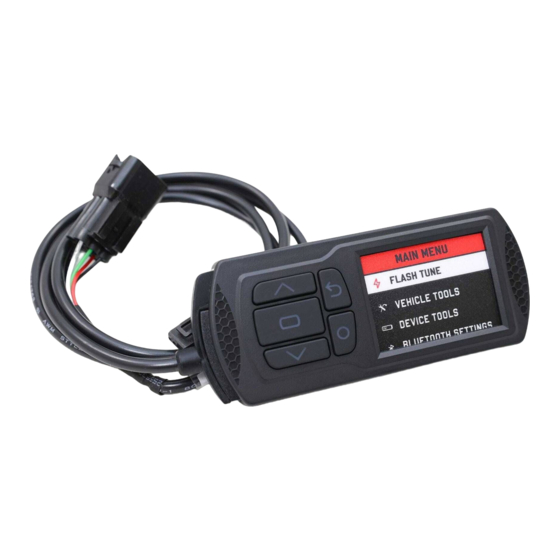
カーエレクトロニクス Dynojet Power VisionのPDF クイック・スタート・マニュアルをオンラインで閲覧またはダウンロードできます。Dynojet Power Vision 17 ページ。 For 2019-2022 can-am ryker 600/900
Dynojet Power Vision にも: インストレーション・マニュアル (6 ページ), インストレーション・マニュアル (8 ページ), インストレーション・マニュアル (7 ページ), マニュアル (7 ページ), インストレーション・マニュアル (7 ページ), インストレーション・マニュアル (7 ページ), インストレーション・マニュアル (7 ページ)
DIAGNOSTIC CONNECTOR LOCATIONS
2004-2015 Dyna Models
Diagnostic connector is located behind the
Left hand side cover. Connector is Light Grey
in color with black rubber plug installed.
Note: 2001-2011 models are J1850 using the PV-1.
Note: 2012-13 models are CAN, using the PV-2.
2007-2015 Sportster Models
(including XR Models)
Diagnostic connector is located behind the
Left hand side cover. Connector is Light Grey
in color with black rubber plug installed.
2002-2007 Touring Models
Diagnostic connector is located behind the
right hand side cover. Connector is Light
Grey in color with black rubber plug installed.
Note: Requires removing the Right side saddle bag.
2008-2015 Touring Models
Diagnostic connector is located behind the
left hand side cover. Connector is Light Grey
in color with a black rubber plug installed.
Note: Requires removing the Left side saddle bag.
2001-2015 Softail Models
Diagnostic connector is located under
the seat, attached to the frame by the rear
fender. Connector is Light Grey in color, with
black rubber plug installed.
Note: Requires removing the seat.
Note: 2001-2011 models are J1850 using the PV-1.
Note: 2011-2013 CVO models are CAN using the PV-2.
Note: 2012-2013 models are CAN using the PV-2.
2002-2015 V-Rod Models-
Shown on Page 8
Diagnostic connector is located behind the
Right Front frame cover. Connector is Light
Grey in color with black rubber plug installed.
Note: Tools required to access.
Power Vision Quick Start Guide - 9