- ページ 5

ネットワーク・ハードウェア AFL Hyperscale U SeriesのPDF インストレーション・マニュアルをオンラインで閲覧またはダウンロードできます。AFL Hyperscale U Series 8 ページ。 Front-access v-panel
AFL Hyperscale U Series にも: インストレーション・マニュアル (16 ページ), インストレーション・マニュアル (8 ページ), インストレーション・マニュアル (8 ページ), インストレーション・マニュアル (12 ページ), インストレーション・マニュアル (8 ページ), インストレーション・マニュアル (8 ページ), インストレーション・マニュアル (20 ページ), インストレーション・マニュアル (17 ページ), インストレーション・マニュアル (20 ページ), インストレーション・マニュアル (16 ページ)
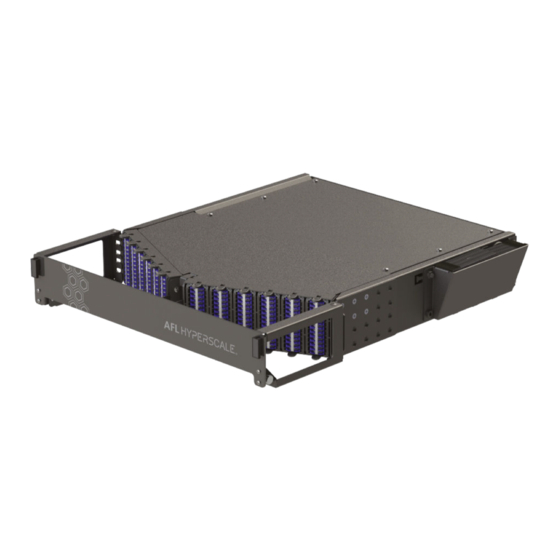
AFL Hyperscale U Series インストレーション・マニュアル
Splicing the Cassette
Measure the cable to the length required for splicing.
Once complete, install the cable into the cassette using
an M12 gland (4.5-7.8mm cable OD). Proceed to strip
3
the outer jacket of the cable
Note:
We recommend stripping a minimum length of
60cmm - this should be enough to create two loops of
fibers. Do not remove all the strength member as it will
be used later to secure the cable to the cassette.
5
To simplify preparation, installation, and splicing,
the adapters can be removed from the cassette.
Series
Secure the cable strength member to the
cassette attachment point.
4
Note:
We recommend leaving least 5 cm of
strength member to secure the cable in the
cassette.
Group the fibers from the cable together into
6
bundles 1-12 and 13-24. Repeat the process for
the pigtails.
© AFL Hyperscale. All rights reserved
U-Series Splice Cassette
5