AFL Hyperscale U Series Посібник з монтажу - Сторінка 5

Переглянути онлайн або завантажити pdf Посібник з монтажу для Мережеве обладнання AFL Hyperscale U Series. AFL Hyperscale U Series 8 сторінок. Front-access v-panel
Також для AFL Hyperscale U Series: Посібник з монтажу (16 сторінок), Посібник з монтажу (8 сторінок), Посібник з монтажу (8 сторінок), Посібник з монтажу (12 сторінок), Посібник з монтажу (8 сторінок), Посібник з монтажу (8 сторінок), Посібник з монтажу (20 сторінок), Посібник з монтажу (17 сторінок), Посібник з монтажу (20 сторінок), Посібник з монтажу (16 сторінок)
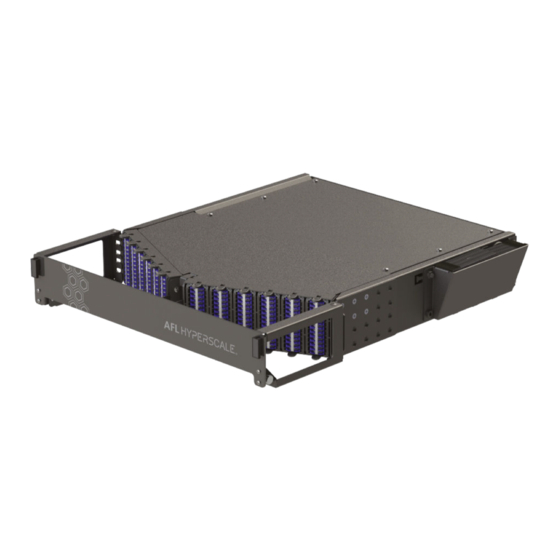
AFL Hyperscale U Series Посібник з монтажу
Splicing the Cassette
Measure the cable to the length required for splicing.
Once complete, install the cable into the cassette using
an M12 gland (4.5-7.8mm cable OD). Proceed to strip
3
the outer jacket of the cable
Note:
We recommend stripping a minimum length of
60cmm - this should be enough to create two loops of
fibers. Do not remove all the strength member as it will
be used later to secure the cable to the cassette.
5
To simplify preparation, installation, and splicing,
the adapters can be removed from the cassette.
Series
Secure the cable strength member to the
cassette attachment point.
4
Note:
We recommend leaving least 5 cm of
strength member to secure the cable in the
cassette.
Group the fibers from the cable together into
6
bundles 1-12 and 13-24. Repeat the process for
the pigtails.
© AFL Hyperscale. All rights reserved
U-Series Splice Cassette
5