- ページ 8
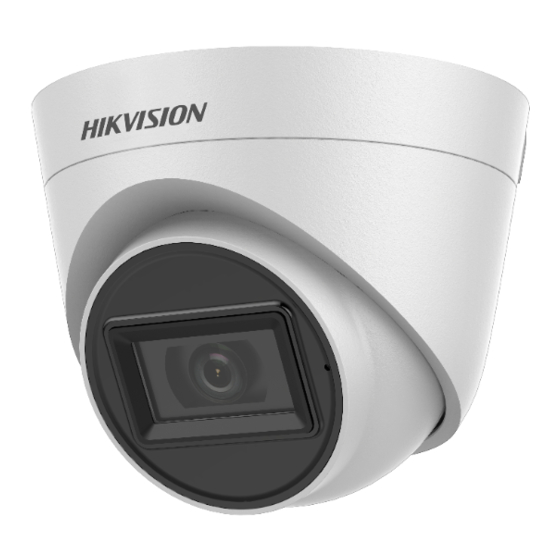
防犯カメラ HIKVISION D0TのPDF ユーザーマニュアルをオンラインで閲覧またはダウンロードできます。HIKVISION D0T 17 ページ。 Audio turret camera
HIKVISION D0T にも: ユーザーマニュアル (17 ページ), ユーザーマニュアル (15 ページ), ユーザーマニュアル (11 ページ), ユーザーマニュアル (11 ページ), ユーザーマニュアル (17 ページ)
4. Route the cables through the cable hole, or the side
opening.
5. Secure the camera on the mounting base.
1)
2)
6. Connect the corresponding power cord, and video
cable.
7. Power on the camera to check whether the image
on the monitor is gotten from the optimum angle. If
not, adjust the camera according to the figure below
to get an optimum angle.
2.2 Installation of Type II Camera
Before you start:
The installation of ceiling mounting and wall mounting
are similar. Following takes ceiling mounting as an
example.
Steps:
1. Drill the screw holes and the cable hole (optional)
on the ceiling.
Note:
Drill the cable hole, when adopting the ceiling outlet
to route the cable.
2. Loosen the trim ring to remove the mounting base.
3. Secure the mounting base on the ceiling with
screws.
Figure 2-5 Secure the Mounting Base
Note:
The supplied screw package contains self-tapping
screws, and expansion bolts.
Pull out the clip plate, and then to combine
the camera with the mounting base.
Push the clip plate in, and secure the camera
by tightening the screw.
Figure 2-3 Secure the Camera
Figure 2-4 3-Axis Adjustment