9. Most units are supplied with one Back panel which fits across the whole width of the unit, but if
your unit is particularly big it will come in two or more sections.
Fit the Back between the grooves in the LH/RH Sides, and the groove in the Countertop. It should be
level with the bottom of the Base Shelf, and the holes near the bottom edge should be about 9mm
above the bottom. The holes along the top will be much closer to the edge. Ensure that that any holes
across the middle of the Back line up with the shelves. Screw the Back in place using the 25mm
WSH Screws, starting down one edge and aligning as you go to keep the unit square.
Carefully lift the unit into the upright position.
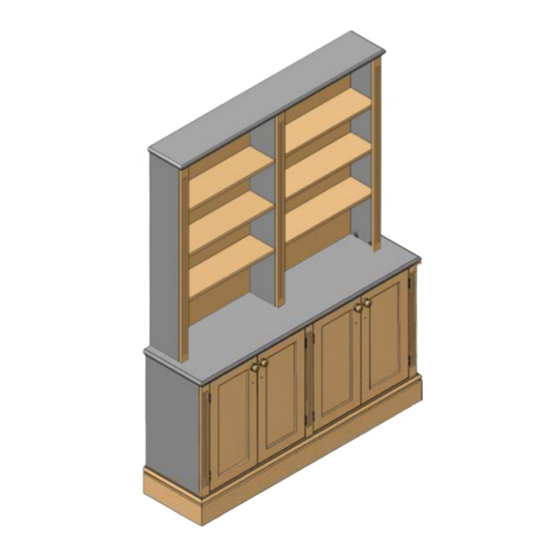
10. Fix Handles to the Doors using
the Bolts provided.
11. Fix Doors in place with Hinges
and 25mm CSK Screws. This will be
easier with a helping hand! Ensure
the butt of the hinge clears the
edge of the door, so the doors are
positioned correctly.
Fix with 25mm CSK Screws
Assembly Instructions: Dresser
Page 6 of 9