- ページ 8
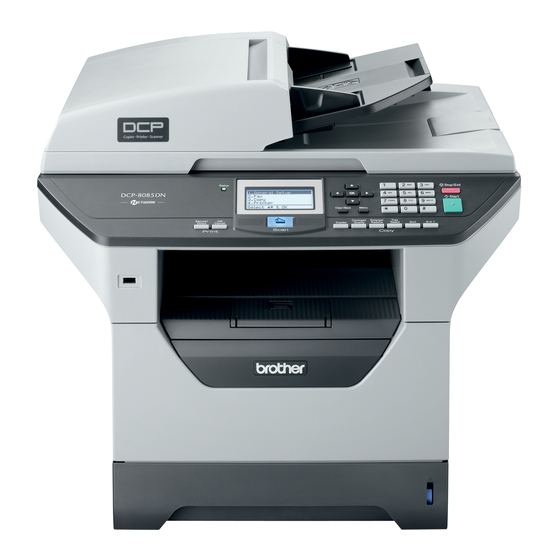
オール・イン・ワン・プリンター Brother DCP 8085DNのPDF クイック・セットアップ・マニュアルをオンラインで閲覧またはダウンロードできます。Brother DCP 8085DN 23 ページ。 Laser fax/mfc
Brother DCP 8085DN にも: クイック・セットアップ・マニュアル (30 ページ), 部品リファレンスリスト (39 ページ), サービス更新情報 (15 ページ), サービスマニュアル (18 ページ)

USB
For USB Interface Users
®
(Windows
2000 Professional/XP/XP Professional x64 Edition/
Windows Vista
12
Before you install
a
Make sure that your computer is ON and you
are logged on with Administrator rights.
b
Turn off and unplug the machine from the AC
outlet and disconnect it from your computer, if
you already connected an interface cable.
13
Install MFL-Pro Suite
a
Put the supplied CD-ROM into your CD-ROM
drive. If the model name screen appears,
choose your machine. If the language screen
appears, choose your language.
Note
If the Brother screen does not appear
automatically, go to My Computer (Computer),
double-click the CD-ROM icon, and then
double-click Start.exe.
b
The CD-ROM main menu will appear. Click
Initial Installation.
c
Click Install MFL-Pro Suite.
d
When the ScanSoft™ PaperPort™ 11SE
License Agreement window appears, click
Yes if you agree to the Software
License Agreement.
e
The installation of ScanSoft™ PaperPort™
11SE will automatically start and is followed by
the installation of MFL-Pro Suite.
f
When the Brother MFL-Pro Suite Software
License Agreement window appears, click
Yes if you agree to the Software
License Agreement.
g
Choose Local Connection, and then click
Next. The installation continues.
h
If you do not want to monitor the machine
status and error notifications from your
computer, uncheck Enable Status Monitor
and then click Next.
8
®
)
i
When this screen appears, go to the next step.
14
Connect the USB cable
a
Remove the label covering the USB interface
connector.
b
Connect the USB cable to the USB connector
on the machine marked with the
Then connect the cable to your computer.
®
Windows
symbol.
