- ページ 3
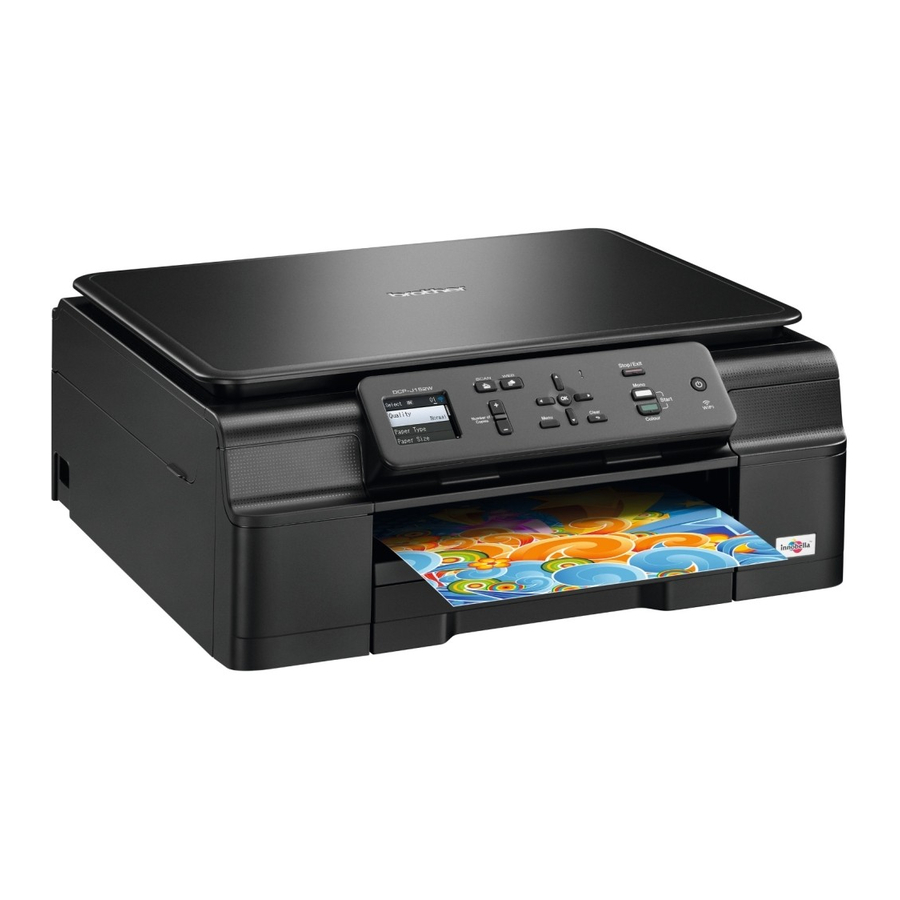
プリンター Brother DCP-J752DWのPDF クイック・セットアップ・マニュアルをオンラインで閲覧またはダウンロードできます。Brother DCP-J752DW 23 ページ。 Printers
Brother DCP-J752DW にも: エア・プリント・マニュアル (12 ページ), クイック・セットアップ・マニュアル (31 ページ), 製品安全マニュアル (16 ページ)

d
Unpack the ink cartridge.
Turn the green release lever on the orange
protective packing a counterclockwise until it
clicks to release the vacuum seal. Then
remove the orange protective packing a as
shown.
IMPORTANT
• DO NOT shake the ink cartridges. If ink stains
your skin or clothing, wash with soap or
detergent at once.
• DO NOT touch the cartridge in the area
indicated b, as this can cause the machine not
to function with the cartridge.
e
Take care to match the sticker colour with the
cartridge colour.
Install each ink cartridge in the direction of the
arrow on the label.
f
Gently push the back of the ink cartridge
marked "PUSH" until the cartridge lever lifts.
After all the ink cartridges are installed, close
the ink cartridge cover.
NOTE
The machine will prepare the ink tube system for
printing. This process will take approximately four
minutes. Do not turn off the machine. We
recommend you perform the next step while
waiting.
2
1
2
1
5
Load plain A4 paper
a
Pull the paper tray completely out of the
machine.
b
Open the output paper tray cover.
c
Gently press and slide the paper width
guides a and then the paper length guide b to
fit the paper size.
Make sure that the triangular marks c on the
paper width guides a and paper length
guide b line up with the mark for the paper size
you are using.
d
Fan the stack of paper well to avoid paper jams
and misfeeds.
NOTE
Always make sure that the paper is not curled or
wrinkled.
1
3
2
3
3
