- ページ 8
スキャナー Fujitsu ScanSnap iScanner fi-6010NのPDF スタートマニュアルをオンラインで閲覧またはダウンロードできます。Fujitsu ScanSnap iScanner fi-6010N 21 ページ。 Network adf scanner
Fujitsu ScanSnap iScanner fi-6010N にも: 仕様 (2 ページ), スタートマニュアル (21 ページ), パンフレット&スペック (2 ページ), スタートマニュアル (45 ページ), 洗浄方法 (2 ページ), 洗浄方法 (2 ページ)
Setting up for Network Use
Chapter 3
3.1 Logging in
Do not move or shake the
AUTION
scanner when it is turned on.
This can damage the rotating
hard disk drive and cause data to
be lost.
To set up the network connection, you must login as the
administrator. The user name and initial password for
the administrator are as follows:
z User Name: admin
z Password: password
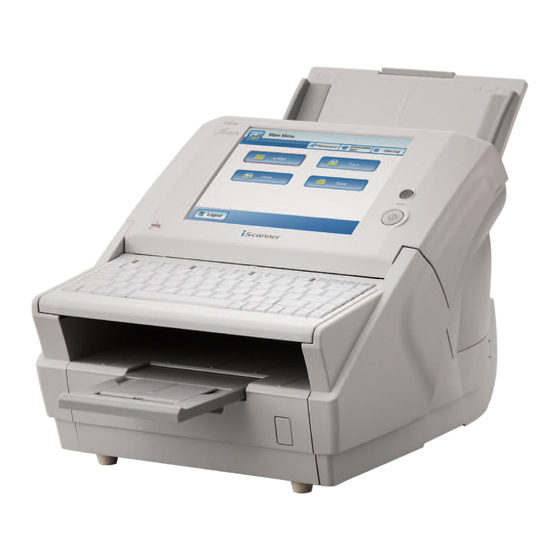
1. Press the startup button.
Startup button
D After the system starts up, the "Language /
Keyboard Selection" screen appears.
After turning the power off, wait for at
ATTENTION
least 10 seconds before turning the
power back on again.
If touch panel responses seem out of
HINT
alignment with the positions of
objects on the LCD screen, calibrate
the screen.
For details, refer to "Appendix A Cali-
brating the Touch Panel" (page 17).
2. Select a language.
Select the desired language for the operating envi-
ronment. The default language is "English (US
Keyboard)".
You can select whether or not to display
HINT
this screen again at the next start up. To
display the screen again, for "Show this
message at next start up?", press the
[Yes] button. To not display this screen at
next start up, press the [No] button.
To change the setting back to displaying
this screen at the next start up, login as
the administrator and for "Show the
"Language/Keyboard Selection" screen
at next start up?", press the [Yes] button
on the "Language/Keyboard Selection"
screen.
3. Press the [OK] button.
D The "Login" screen appears.
If the language is changed in Step 2,
ATTENTION
the following screen appears.
The message is displayed in the
selected language.
Pressing the [OK] button restarts the
scanner, and the "Login" screen.
4. Enter the user name.
User name is case sensitive. Enter "admin" here.
5
5. Enter the password.
Password is case sensitive.
Enter "password" here.
6. Press the [Login] button.
D If the administrator name and password are
valid, the "System Settings" screen appears.
3.2 Changing the Administrator
Password
If you change the password, save
ATTENTION
the new password in a safe location.
If you lose the password, contact
your FUJITSU scanner dealer or an
authorized FUJITSU scanner service
provider. This may incur a cost to
reset the scanner.
The administrator password can be changed.
1. Select the [System Settings] tab on the top
menu.
2. Press the [
] button on the left side menu.
D Scroll the left side menu down until the
[Admin Password] tab appears.
3. Select the [Admin Password] tab on the left
side menu.
D The "Admin Password" screen appears.
4. Enter the "Current Password", "New Pass-
word", and "Confirm New Password".
Passwords must be between 7 and 127 characters
long.
Alphanumeric characters (case sensitive) and
symbols may be entered.
5. Press the [OK] button.
D The new admin password is set.
3.3 Setting the Scanner Name
A scanner name may be set to provide a network alias
for the device.
Do not use a name that is already
ATTENTION
being used in the network.
Name duplication will cause a net-
work connection error.
1. Select the [System Settings] tab on the top
menu.
2. Select the [Scanner Name] tab on the left side
menu.
D The "Scanner Name" screen appears.
3. Enter a scanner name.
Scanner names may be up to 15 characters long.
Use only alphanumeric characters (case sensitive)
and hyphens.
Scanner names cannot consist of numerical char-
acters only.
A hyphen cannot be used as the first character of a
scanner name.
The scanner can be setup to be a
workgroup or domain member.
HINT
6