- ページ 5
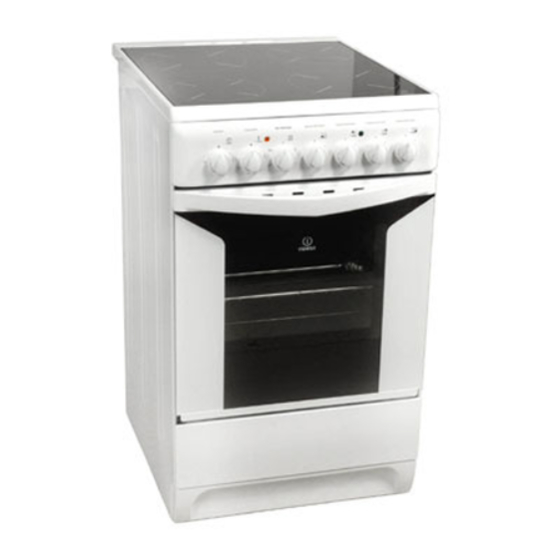
調理器 Indesit K3C11/AUSのPDF 取扱説明書をオンラインで閲覧またはダウンロードできます。Indesit K3C11/AUS 12 ページ。 Cooker and oven
Start-up and use
The first time you use your appliance, heat the
empty oven with its door closed at its maximum
temperature for at least half an hour. Ensure that the
room is well ventilated before switching the oven off
and opening the oven door. The appliance may emit
a slightly unpleasant odour caused by protective
substances used during the manufacturing process
burning away.
Before operating the product, remove all plastic
film from the sides of the appliance.
Never put objects directly on the bottom of the
oven; this will avoid the enamel coating being
damaged. Only use position 1 in the oven when
cooking with the rotisserie spit.
Always place cookware on the rack(s) provided.
! WARNING- Accesible parts may become hot when
the grill is in use. Children should be kept away.
Starting the oven
With these two controls you can select the different
functions of the oven and choose the cooking tempe-
rature suitable for the food you are preparing. The
different cooking functions are set up by operating
the two knobs: the selection knob and the thermostat
knob on the oven panel.
1. Static oven
- SELECTOR knob setting:
- THERMOSTAT knob setting: anywhere between 50°C
and Max
The oven light turns on and the top and bottom heating
elements (resistors) switch on. The temperature, fixed
by the thermostat knob, is reached automatically and
kept constant by the thermostat control. This function
permits cooking and type of food thanks to excellent
temperature distribution.
2. The bottom heating element
- SELECTOR knob setting:
- THERMOSTAT knob setting: anywhere between 50°C
and Max
The oven light turns on and so does the bottom heating
element. The temperature, fixed by the thermostat
knob, is reached automatically and kept constant. This
setting is recommended for finishing the cooking of
foods (placed in pans) that are well done on the outside
but still not done inside or for desserts covered with
fruit or jam which require a light browning on top. Note
that this function does not permit reaching the
maximum (250°C) temperature inside for cooking foods
always on this oven setting unless the foods are cakes
which only require temperatures below or equal to
180°C.
3. The Top heating element
- SELECTOR knob setting:
- THERMOSTAT knob setting: anywhere between 50°C
and Max
The oven light turns on and so does the infra-red ray
grill, and the motor starts turning the spit. The rather
high and direct temperature of the grill permits browning
the outside of meats immediately thus keeping in the
juices and assuring tenderness.
4. The grill
- SELECTOR knob setting:
- THERMOSTAT knob setting: anywhere between 50°C
and Max
The oven light turns on and so does the double heating
element of the grill and the motor starts turning the
spit. This grill is larger than the average and has a
completely new design: cooking performance is
increased 50%. The double grill makes sure that even
the corners are touched by heat.
! when using the grill, keep the oven door closed to
obtain the best results and save energy (about
1 0 % ) .
When utilizing the grill, place the rack at the lower levels
(see cooking table). To catch grease or fat and prevent
smoke, place a dripping-pan at the bottom rack level.
THERMOSTAT indicator light
When this is illuminated, the oven is generating
heat. It switches off when the inside of the oven
reaches the selected temperature. At this point the
light illuminates and switches off alternately,
indicating that the thermostat is working and is
maintaining the temperature at a constant level.
Oven light
This is switched on by turning the SELECTOR knob
to any position other than 0. It remains lit as long
as the oven is operating. By selecting
knob, the light is switched on without any of the
heating elements being activated.
The rotisserie
To operate the rotisserie, proceed as follows:
a ) place the dripping-pan on the 1st rack;
&
with the
b ) insert the special
rotisserie support on the
4th rack and position the
spit by inserting it
through the special hole
into the rotisserie at the
back of the oven;
c ) to start the spit, set
the oven selection knob
5
G B