- ページ 6
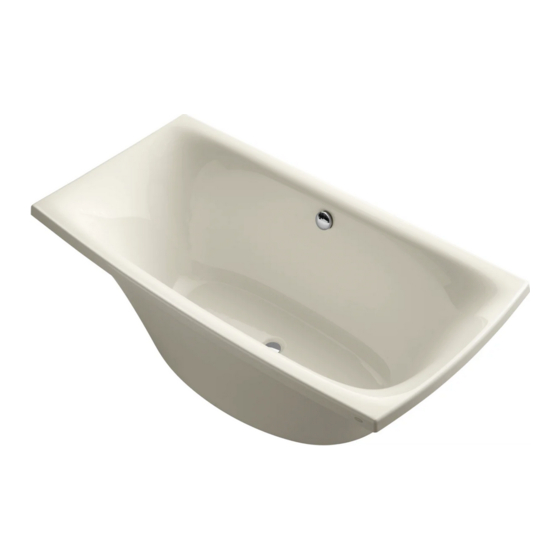
バスタブ Kohler K-11344のPDF インストレーション・マニュアルをオンラインで閲覧またはダウンロードできます。Kohler K-11344 25 ページ。 Freestanding bath
Kohler K-11344 にも: インストレーション&ケア・マニュアル (45 ページ), インストレーション&ケア・マニュアル (28 ページ), ラフイン・マニュアル (4 ページ)

Apply
plumbers
putty.
Drain
Gasket
4. Secure the Drain to the Bath
CAUTION: Risk of property damage. Make sure a watertight seal exists on all bath drain connections.
CAUTION: Risk of product damage. Do not kink or cause damage to the cable on the bath drain
during installation.
Remove the drain from the bath shell.
Secure the Drain Elbow
Apply plumbers putty to the underside of the flange.
Set the flange on top of the drain outlet of the bath.
Apply silicone sealant to the underside of the drain gasket, then place the drain gasket on top of the
drain elbow.
Insert the nut through the center of the flange and onto the threaded cylinder in the drain elbow.
Hand tighten the nut onto the threaded cylinder. Do not wrench tighten at this time.
Remove any excess putty around the flange.
Secure the Overflow Elbow
Align the overflow elbow to the outside of the overflow outlet of the bath.
Insert the nut through the recessed side of the backplate.
Insert the nut with backplate onto the threaded cylinder of the overflow elbow.
Turn the nut clockwise until hand-tight to secure the nut with backplate to the threaded cylinder.
Do not wrench tighten at this time.
1055344-2-A
Nut
Flange
Drain
Outlet
Threaded
Cylinder
Drain Elbow
Overflow
Elbow
Threaded
Cylinder
6
Overflow
Outlet
Backplate
Nut
Kohler Co.
