- ページ 10
バスタブ Kohler Sterling 6104 SeriesのPDF インストレーション&ケア・マニュアルをオンラインで閲覧またはダウンロードできます。Kohler Sterling 6104 Series 41 ページ。
Kohler Sterling 6104 Series にも: インストレーション・マニュアル (44 ページ)

Construct the Framing (cont.)
Studs must be positioned roughly as shown in the "Roughing-In" section to
properly fasten the attachment clips or the bath flange. Other stud locations are
optional except for those which must meet the load-bearing requirements of local
building codes. Studs must also allow for the installation of plumbing fittings and
any shower door. Locate the shower door studs as required by the shower door
manufacturer.
For Bath with Apron Flanges
If apron flanges are in place on the apron, ensure that the outer stud is positioned
for the apron flanges at 31-1/2" (80 cm) from the back wall. The outer edge of the
stud should align with the edge of the apron flange.
If the apron flanges are not going to be used or are broken, install three evenly
distributed 2x4 blocks just behind the apron location. The blocks will prevent the
apron from being damaged and may be used to secure the apron behind the
baseboard. Measure the bath for the required clearance behind the apron and for
the location of the blocks.
For Bath Only without Wall Surrounds
Provide the necessary backing or support for shelving, grab bars, towel bars or
other accessories. Refer to the accessory manufacturer's instructions for proper
installation.
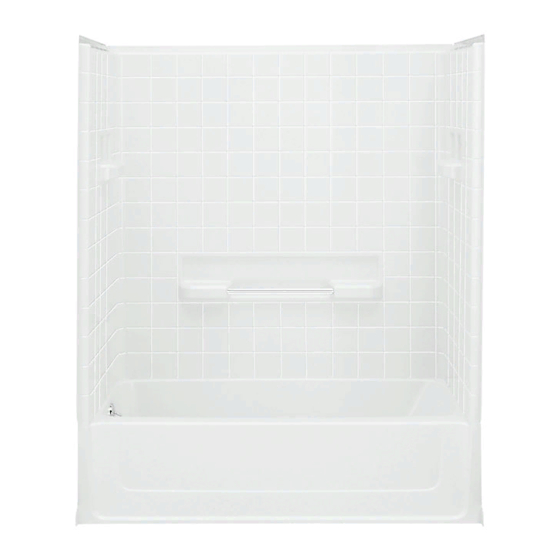
For Bath with Wall Surrounds
NOTE: If the wall surrounds will be installed to a masonry wall, make provisions for
plumbing connections. For the plumbing end wall, construct a separate frame wall a
minimum of 6" (15.2 cm) from the masonry wall. For the remaining walls, use 2x2
furring strips to provide stud locations.
Ensure that the outer stud is positioned with the vertical wall flanges 31-1/2" (80
cm) from the back wall. The outer edge of the stud should align with the edge of
the wall flange.
NOTICE: Accessories that require backing or support are not recommended for this
installation. Installing these accessories could void the warranty.
Ensure fiber or other soft insulation does not drop down into the water channel.
Cover or seal any loose material. Failure to do so may cause wicking of water
from the water channel into the insulation which may induce mold, leakage, or
mildew. Ensure the channels are free of debris after installation.
For Above-the-Floor Drain Baths
Ensure the drain piping can pass through the wall and that the load bearing
requirements of the wall are satisfied. Modify the framing or raise the subfloor as
required to obtain clearance.
For All Installations
Construct 2x4 stud framing for your particular installation according to the
"Roughing-In" section.
Ensure that the framing for each stud is plumb and square within 1/8" (3 mm).
Shimming will be required if tolerances are not met.
If possible, construct an access panel in the plumbing end wall to simplify future
maintenance of all plumbing connections.
1064909-2-B
10
Sterling
