- ページ 6
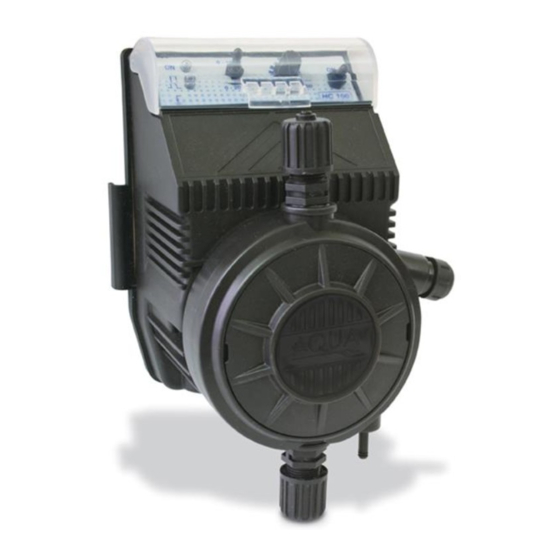
水ポンプ Aqua HC 100のPDF 取扱説明書をオンラインで閲覧またはダウンロードできます。Aqua HC 100 19 ページ。
Aqua HC 100 にも: 取扱説明書 (20 ページ)

ENGLISH
2.5 Hydraulic connection
After the exact installation of the pump (see generalities), proceed with the connection.
Suction: connect the suction tube (PVC soft cristal) to the foot filter that is supplied and put it in
the hose clamp, lock the tube closing the nut. If it utilises a level probe, this one has to be
connected to the filter through the support that is supplied. Put the foot filter into the liquid suction
lift tank. Connect the other extremity to the suction of the pump (lower part of the pump head),
unscrew the nut from the nipple, take off the rubber white disk situated on the tube connection. Let
pass the tube through the nut and the adaptor for the 4x6 tube with a simultaneous action of
pressing and rotating, put the tube on the nipple conical connection (hose clamp) till the end; lock
up everything by closing the nuts well. See fig. 5
Delivery: connect the pump to the plant always through the injection valve (1/2"Gm) that is
supplied with the installation Kit. Fit a Gf 1/2" nipple on your water supply line and after that fitting,
to the point where you require chemical injection, the injection valve out with teflon and put in into
the pipe. Unscrew the nut, put well the discharge tube (stiff Polyetilene) on the hose clamp of the
nipple's valve, lock everything by closing the nut well.
Connect the other extremity to the delivery of the pump (upper part of the pump head), by
repeating the instructions above. See fig. 5
Purge: connect another tube's extremity for the manual purge (2 mt PVC crystal) in the hose
clamp situated on the pump head lower to the right, while the other extremity is to be put into the
suction lift tank. See fig. 6
INSTRUCTION FOR PRIMING
For the priming of the pump in case of high against pressure in the injection, turn the purge knob
for a quarter or a half of round (see fig. 6) until the head pump is completely full. Screw down
again the knob.
ATTENTION!!
If it is necessary to take the pump off the plant, it is important to put the
white disk in again, so as to avoid any exit of the liquid contained in the
pump head from dripping out. - During the installation ensure that the
discharge tubing is fixed correctly to avoid that it does not rub against hard
bodies. Avoid also use less bends both on discharge and suction tubing.
Cod. ADSP7000177C Rev.0.0 (12/2020)
P- Metering Pump
R- Relay
I-Switcher or multi-pole security
device
E- Motor or generally inductive
charge
A- Supply voltage
5
