- ページ 3
照明器具 Aqua Creek Products Cycle AttachmentのPDF クイック・スタート・マニュアルをオンラインで閲覧またはダウンロードできます。Aqua Creek Products Cycle Attachment 8 ページ。

ASSEMBLY INSTRUCTIONS: CYCLE ATTACHMENT
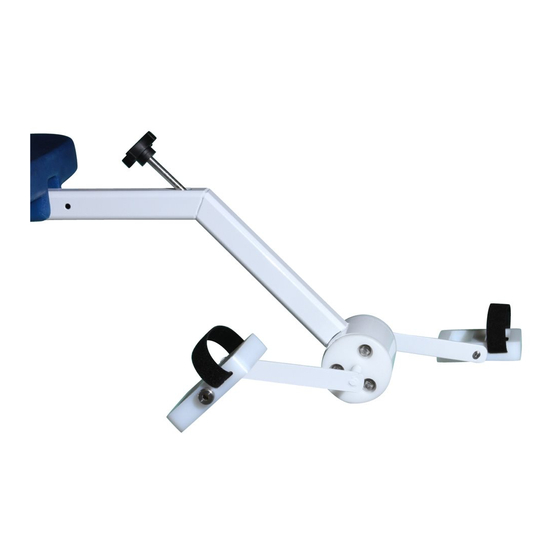
The Cycle Attachment will work on any standard Aqua Creek Products chair assembly. Shown
above is the Cycle Attachment being installed on the Pro Pool lift. The Cycle Attachment
Armrests require removing the existing armrests for installation.
STEP 1: R e m o v e t h e ¼ " x 3 " b u t t o n -head screws, washers and nuts. Remove the existing
armrests from the chair. Replace with the Cycle Attachment Armrests (FIGURE 3-A, next
page). Make sure the handgrips are facing upwards.
STEP 2: R e i n s t a l l t h e ¼ " b u t t o n -head screws and hardware. Tighten until snug.
STEP 3: R e m o v e t h e 2 " s q u a r e p l a s t i c e n d -cap from the front of the chair-support tube (front
of chair between legs, see next page FIGURE 3-B).
STEP 4: Remove the 5/16" x 4 " h e x b o l t a n d a s s o c i a t e d h a r d w a r e from under the seat (see next
page, FIGURE 3-B).
STEP 5: Slide the Bike-Pedal Attachment into the chair-support tube. Press the CA-SLEEVE
into the seat-tube until it is fully seated (FIGURE 3-B, next page). Align one of the leg-length
adjustment holes with the holes through the chair and the chair-support tube (FIGURE 3-B,
next page).
STEP 6: Install 5 / 1 6 " s p ring-pin into aligned holes, and clip the spring over the end.
The Cycle Attachment is now ready for use.
3
