- ページ 7
フェンス&ゲート Fencee MX10のPDF ユーザーマニュアルをオンラインで閲覧またはダウンロードできます。Fencee MX10 16 ページ。 Remote monitoring of fence parameters
Fencee MX10 にも: ユーザーマニュアル (16 ページ)

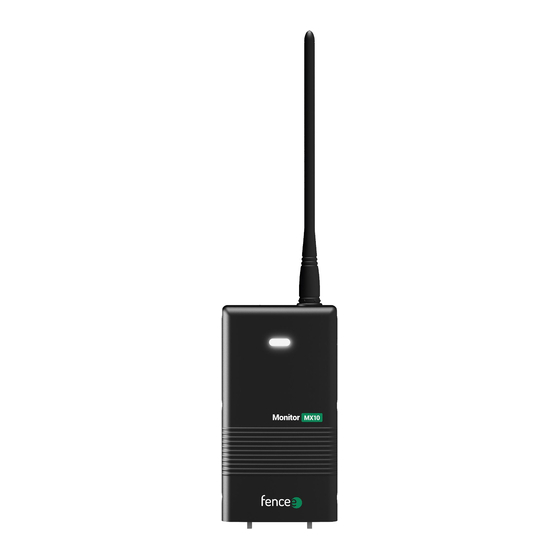
7. PAIRING THE MONITOR WITH THE GATEWAY
First, the MX10 Monitor must be paired with the Gateway in order to display the measured
data. Pairing is performed by the following steps:
1
The Monitor must be turned off. The LED flashes red.
2
Then hold the magnet to the Monitor target for >3 s. The Monitor will flash green
and red LED simultaneously. The Monitor is now in pairing mode.
3
Place the Monitor and Gateway next to each other, up to a maximum distance
of approx. 30 cm.
4
Now activate the pairing mode also on the Gateway - the exact description is given
in the user manual for the Gateway.
- To select pairing, hold down the MENU button.
- Use the arrow keys to navigate to Pairing and press the ENTER button to access
the Device Manager
- Use the arrow keys to navigate to an empty position
- Press the ENTER button shortly to confirm the item selection
- The correct action is confirmed by the Pairing new device information screen
5
Upon successful pairing, the Monitor beeps and flashes green. At the same time it also
automatically shuts off so as not to trigger the alarm immediately, because it is not
connected to the fence yet and has no voltage. It is displayed on the Gateway with
a value of 0 kV.
6
The Monitor is now paired and can be installed on the fence system in the required
measuring point.
The Monitor can only be paired to one Gateway - after pairing with
another Gateway , the previous device will be deleted. The pairing
mode ends automatically after 1 minute or it can be interrupted by
applying a magnet to the target.
7
