- ページ 7
コンピュータ・ハードウェア DG FPGAのPDF セットアップをオンラインで閲覧またはダウンロードできます。DG FPGA 18 ページ。
DG FPGA にも: セットアップ (5 ページ), セットアップ (14 ページ), セットアップ (20 ページ), セットアップ (8 ページ), セットアップ (10 ページ)

dg_toe100gip_fpgasetup_xilinx.doc
The step to setup test environment by using FPGA and PC is described in more details as
follows.
1) Connect USB cables between FPGA and PC for JTAG programming and Serial
console/JTAGUART.
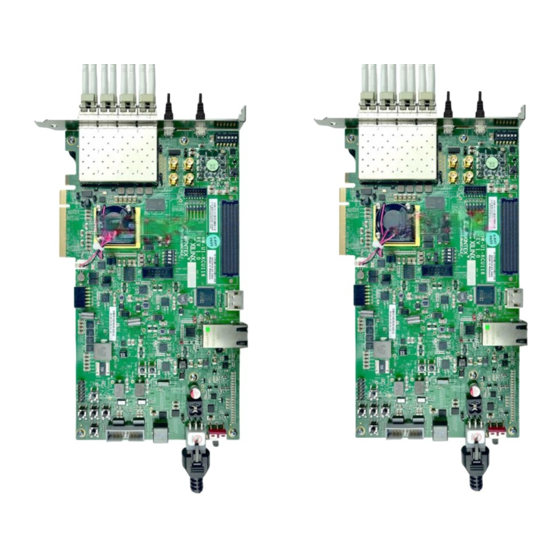
a) For KCU116 board, connect two micro USB cables
b) For U250 card, connect one micro USB cable
c) For FB2CGHH@KU15P card, connect one mini USB cable
2) Connect power supply to FPGA development board/FPGA accelerator card.
a) For KCU116 board, connect Xilinx power adapter
b) For U250 card, connect the card to PC
c) For FB2CGHH@KU15P card: connect the card to PC or use AB18-PCIeX16 board by
following step.
i) Confirm that two mini jumpers are inserted at J5 connector on AB18
ii) Connect ATX power supply to AB board
iii) Connect PCIe connector on FPGA board to Device Side (B-Side), as shown in
Figure 2-4
Figure 2-4 Set up AB18-PCIeX16 Connection for FB2CGHH@KU15P card
28-Apr-21
Page 7
