- ページ 18

ノートパソコン Dell Inspiron 600mのPDF サービスマニュアルをオンラインで閲覧またはダウンロードできます。Dell Inspiron 600m 40 ページ。 Hard drive
Dell Inspiron 600m にも: ここからスタート (2 ページ), ここからスタート (2 ページ), ここからスタート (2 ページ), スタートマニュアル (2 ページ), ユーザーマニュアル (34 ページ), セットアップマニュアル (2 ページ), はじめに (2 ページ), セットアップマニュアル (2 ページ), セットアップマニュアル (2 ページ), セットアップマニュアル (2 ページ), セットアップマニュアル (2 ページ), セットアップマニュアル (2 ページ), セットアップマニュアル (2 ページ), セットアップマニュアル (2 ページ), サービスマニュアル (41 ページ), メディアベース取扱説明書 (26 ページ), サービスマニュアル (41 ページ), インストールと設定 (38 ページ), クイックスタート (2 ページ), クイックスタート (2 ページ), クイックスタート (2 ページ), コンピュータのセットアップ (2 ページ), サービスマニュアル (41 ページ), サービスマニュアル (4 ページ)
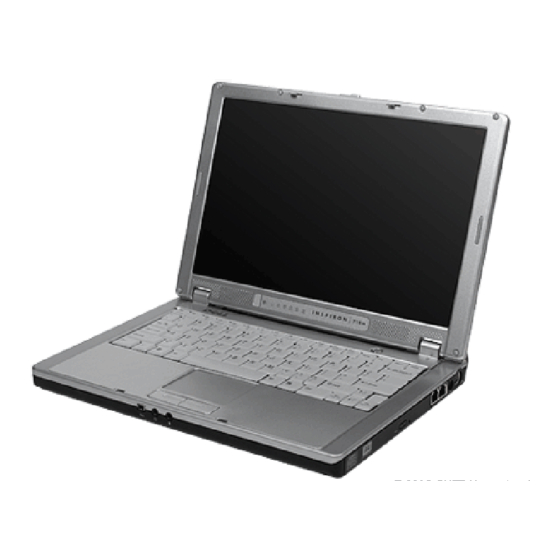
Dell Inspiron 600m サービスマニュアル
Back to Contents Page
  Keyboard
Dell™ Inspiron™ 700m Service Manual 
  Removing the Keyboard
  Replacing the Keyboard
 Removing the Keyboard
 
CAUTION:
Before you begin any of the procedures in this section, follow the safety instructions in the Product Information Guide.
NOTICE:
Disconnect the computer and any attached devices from electrical outlets.
NOTICE:
To avoid ESD, ground yourself by using a wrist grounding strap or by touching an unpainted metal surface on the computer.
NOTICE:
Read
"Before Working Inside Your
 
1. Remove the battery.
 
2. Remove the
hinge
cover.
 
3. Remove the two M2.5 x 5-mm keyboard securing screws.
NOTICE:
The keycaps on the keyboard are fragile, easily dislodged, and time-consuming to replace. Be careful when removing and handling the
keyboard.
1 M2.5 x 5-mm
4 ZIF connector
securing screws (2)
2 keyboard
5 ZIF connector tabs (2)
3 keyboard flex cable
6 securing tabs (4)
 
4. Gently pull up either of the two keyboard locator tabs to pop up the keyboard.
 
5. Pull the keyboard a small distance away from the front of the computer to release the four securing tabs located across the front edge of the keyboard.
 
6. Rotate the keyboard toward the back of the computer and place it face-down on the upper case.
NOTICE:
Do not pull on the keyboard flex cable.
 
7. Open the ZIF connector on the system board by pulling the ZIF connector tabs toward the back of the computer.
 
8. Remove the keyboard flex cable from the ZIF connector.
 
9. Lift the keyboard up and out of the computer.
Computer" before performing the following procedure.