- ページ 39
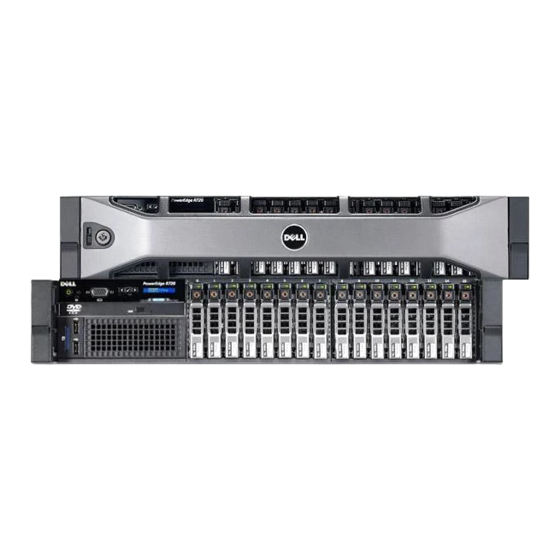
サーバー Dell PowerEdge R620のPDF インストール、メンテナンス、トラブルシューティングマニュアルをオンラインで閲覧またはダウンロードできます。Dell PowerEdge R620 48 ページ。 Poweredge series
Dell PowerEdge R620 にも: マニュアル (11 ページ), スタートマニュアル (12 ページ), インストレーション・インストラクション (2 ページ), インストレーション・インストラクション (2 ページ), ポートフォリオ・マニュアル (27 ページ), スタートマニュアル (10 ページ)

4. Pull firmly on the drive latch to slide the drive out of the drive bay.
5. Set the drive aside on an antistatic mat.
6. Remove the replacement hard drive from its shipping container and antistatic packaging.
7. Press the drive button to release the drive latch.
8. Orient the hard drive with the drive latch towards you, and the label facing up.
9. Carefully slide the drive into the drive bay by pressing on the area between the drive
button and the drive status LEDs.
10. When you feel resistance, press firmly so that the drive latch begins to close.
11. Press the drive latch closed.
Maintaining tape drives
This section includes the following topics:
Cleaning the customer supplied tape drive
●
Cleaning the customer supplied tape drive
This section describes how to clean the tape drive.
Note:
CMS computers do not ship with tape drive cleaning tapes. Customers using tape
Note:
backup must purchase at least one cleaning tape as soon as the computer is
installed and in service. The number of cleaning cycles available on a cleaning
cartridge depends on the manufacturer of the cartridge. You must clean the tape
regularly to maximize tape drive performance. You must clean the tape drive once
a week or every five (5) data backups, whichever comes first.
To clean the tape drive, follow the instructions in the manufacturers documentation for the tape
drive the customer purchased.
Connecting to external interfaces
This section describes the external interfaces connected to the computer. This section includes
the following topics:
Connecting the switch link
●
Avaya CMS Dell R720 and R620 Computer Hardware Installation
on page 39
on page 40.
Maintaining tape drives
39
October 2015
