- ページ 40
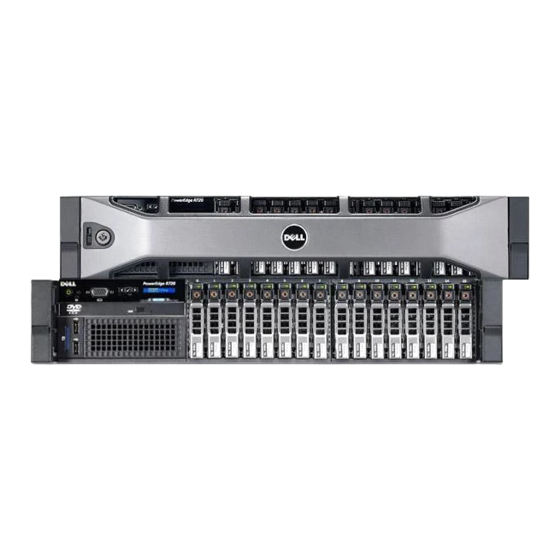
サーバー Dell PowerEdge R620のPDF インストール、メンテナンス、トラブルシューティングマニュアルをオンラインで閲覧またはダウンロードできます。Dell PowerEdge R620 48 ページ。 Poweredge series
Dell PowerEdge R620 にも: マニュアル (11 ページ), スタートマニュアル (12 ページ), インストレーション・インストラクション (2 ページ), インストレーション・インストラクション (2 ページ), ポートフォリオ・マニュアル (27 ページ), スタートマニュアル (10 ページ)

Chapter 3: Maintenance
Connecting to the customer network
●
Connecting the tape drive
●
Connecting the switch link
The CMS computer uses TCP/IP over a local area network (LAN) at only 10/100 Mbps for a
connection to the switch. One CMS computer can collect data from several switches. To the
CMS computer, each switch represents one ACD.
You must use ethernet port 1 for this connection.
For detailed information about how to connect and administer the switch link, see Avaya Call
Management System Switch Connections, Administration, and Troubleshooting.
Connecting to the customer network
The computer supports built-in ethernet ports that support network speeds of 10/100/1000
Mbps. However, for CMS installations, Avaya recommends that you only use speeds at the 10/
100 Mbps speed range. This ethernet connection is used for CMS Supervisor, network printers,
and LAN backup.
You must use ethernet port 0 for this connection.
Connecting the tape drive
Connections to the tape drive are for the Dell R720 and Dell R620 platform only.
Connecting an optional SAS tape drive
A Serial Attached SCSI (SAS) cable connects from the SAS port located on the back of the
computer to the SAS port on the back of the tape drive.
Turning on the system
To turn on the system:
1. Connect the power cord from the tape drive to a power source.
2. Turn on the tape drives, starting with the tape drive that is farthest from the system and
working toward the system.
3. Turn on the system monitor.
40
Avaya CMS Dell R720 and R620 Computer Hardware Installation
on page 40.
on page 40.
October 2015
