- ページ 18
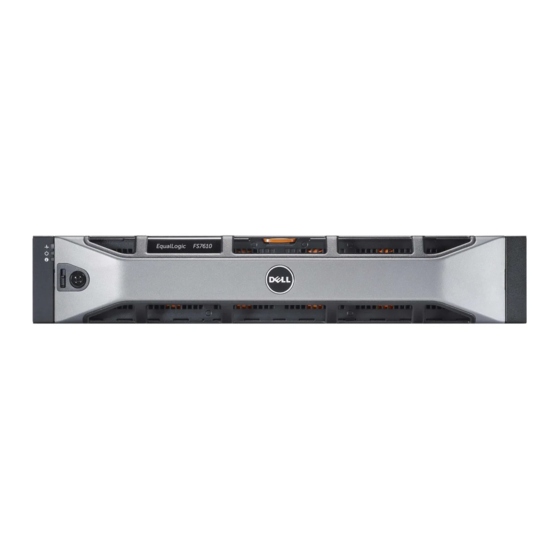
ストレージ Dell EqualLogic FS7610のPDF ハードウェア取扱説明書をオンラインで閲覧またはダウンロードできます。Dell EqualLogic FS7610 32 ページ。 Appliances
Dell EqualLogic FS7610 にも: 概要 (7 ページ), インストールとセットアップマニュアル (46 ページ)

Dell EqualLogic FS7610 Hardware Owner's Manual
The controller powers on automatically, which can take several minutes. (For LED states during power-on, see
Appliance Back-Panel Features on page
the Group Manager GUI or CLI. For information, see the Dell EqualLogic Group Manager Administrator's
Manual.
Replacing SFP+ Transceivers
This section applies only to the 7610 SFP+ model and not to the 10GBASE-T model.
If an appliance's SFP+ (enhanced small form-factor pluggable) transceiver fails, you should take the appliance
offline to replace it.
Required Items
•
Replacement SFP+
•
Optical transceiver extraction tool—The extraction tool helps remove SFP+ transceivers from locations
where space is limited.
Removing an SFP+ Transceiver
1. Stop all system access (such as application, system I/O, or RAW device file paths).
If you are replacing or changing transceivers on a system that cannot be shut down, contact Dell Technical
Support Services at
Electronic modules can be damaged by electrostatic discharge (ESD). To prevent damage, be sure to:
• Wear an antistatic discharge strap while handling transceivers.
• Place transceivers in an antistatic bag or shipping material when transporting or storing them.
If the SFP+ transceivers you are working with are connected to optical fiber cables, reduce the risk of
injury from laser radiation and damage to equipment:
• Do not open any panels, operate controls, make adjustments, or perform procedures to a laser device
other than those specified in this document.
• Do not stare into the laser beam when panels are open.
2. Label any cables that are inserted in the target transceiver.
3. Disconnect any cables that are inserted in the target transceiver.
If you disconnect an optical fiber cable, be sure to cover the end of the cable with a protective cap to prevent
damage to the cable.
4. Open the transceiver latching mechanism, using the extraction tool if necessary. (See callout 1 in
12
2.). After the controller is powered on, reattach the controller through
eqlsupport.dell.com
for additional details.
2 Replacing Components
Figure
9).
