- ページ 34

スイッチ HP ProCurve 1600MのPDF インストレーション・マニュアルをオンラインで閲覧またはダウンロードできます。HP ProCurve 1600M 46 ページ。 Redundant power supply
HP ProCurve 1600M にも: 仕様書 (12 ページ), リード・ミー・ファースト (8 ページ), レビュアーズ・マニュアル (27 ページ), 補足マニュアル (2 ページ), 補足マニュアル (2 ページ), インストレーション・マニュアル (28 ページ), インストレーション・マニュアル (36 ページ), インストレーション・マニュアル (28 ページ), クイック・セットアップ・マニュアル (2 ページ), クイック・セットアップ・マニュアル (4 ページ), ユーザーマニュアル (8 ページ), マニュアルの補足 (28 ページ), リード・ミー・ファースト (16 ページ), 取り付けと取り外し (2 ページ), インストレーション・マニュアル (12 ページ), 計画・実施マニュアル (40 ページ), 使用済み製品の分解手順 (2 ページ), 診断マニュアル (2 ページ), 分解手順 (2 ページ)
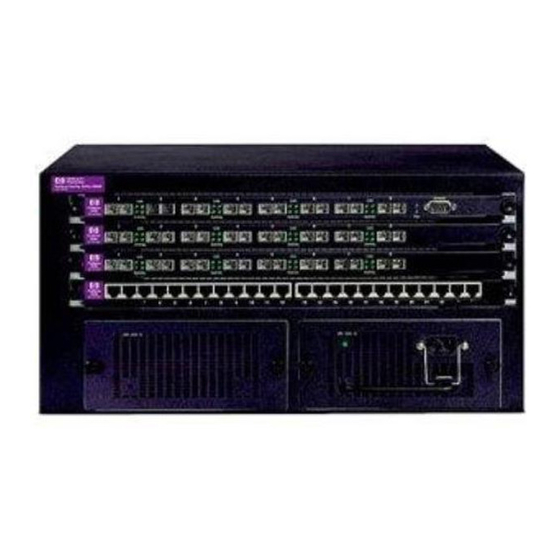
HP ProCurve 1600M インストレーション・マニュアル
Step 1. Insert the power supply into the opening.
Step 2. Tighten the four retaining screws to hold the power supply in place as
Step 3. Go to Chapter , "Connecting the Power Supply," on page 26 and follow
Figure 4-2
Replacing the DC Power Supply

Installing the Power Supply

Lower it until it rests on the bottom of the switch chassis.
Slide it in until it connects to the connector at the back of the slot.
The power supply face plate should be flush with the back of the switch.
shown in Figure 4-2, "Installing the Power Supply into the Switch
Chassis."
The screws can be tightened with either a flat-bladed or Torx T-10
screwdriver. Be careful not to overtighten the screws.
the instructions on connecting the power supply to a DC power source.
Installing the Power Supply into the Switch Chassis
34
Retaining Screws
Chapter 4