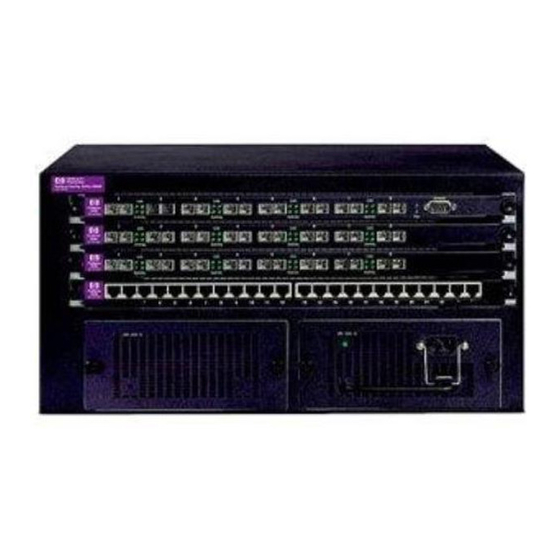
HP ProCurve 1600M Manuel d'installation - Page 34
Parcourez en ligne ou téléchargez le pdf Manuel d'installation pour {nom_de_la_catégorie} HP ProCurve 1600M. HP ProCurve 1600M 46 pages. Redundant power supply
Également pour HP ProCurve 1600M : Fiche technique (12 pages), Lisez-moi d'abord (8 pages), Manuel du réviseur (27 pages), Manuel complémentaire (2 pages), Manuel complémentaire (2 pages), Manuel d'installation (28 pages), Manuel d'installation (36 pages), Manuel d'installation (28 pages), Manuel d'installation rapide (2 pages), Manuel d'installation rapide (4 pages), Manuel de l'utilisateur (8 pages), Supplément au manuel (28 pages), Lisez-moi d'abord (16 pages), Installation et retrait (2 pages), Manuel d'installation (12 pages), Manuel de planification et de mise en œuvre (40 pages), Instructions de démontage du produit en fin de vie (2 pages), Manuel de diagnostic (2 pages), Instructions de démontage (2 pages)

