- ページ 7
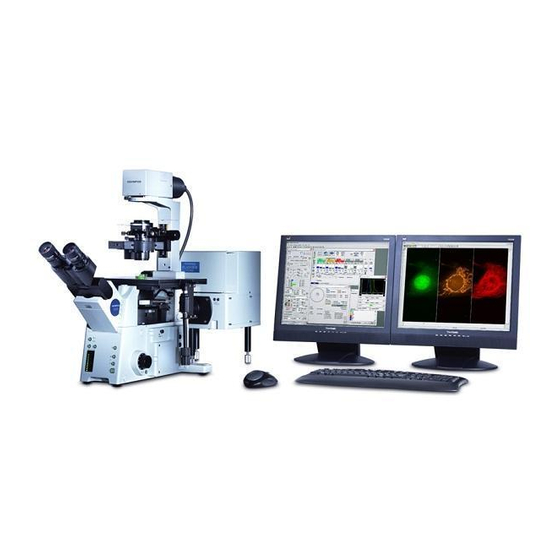
顕微鏡 Olympus Fluoview FV1000のPDF ユーザーマニュアルをオンラインで閲覧またはダウンロードできます。Olympus Fluoview FV1000 9 ページ。 Confocal microscope
Olympus Fluoview FV1000 にも: 概要 (28 ページ), ユーザーマニュアル (42 ページ), 簡単な説明 (7 ページ), 簡単な説明 (7 ページ), マニュアライン (3 ページ)

Olympus FV1000 User guide
G. Saving and Exporting Images
1. Click on the image window to be saved.
2. Click on
icon or select File/Save or Save as from
menu.
3. A Save as window will appear. In case the image should
be saved in the Image folder of a Log‐in user, click on
button and it will direct to your image folder.
Select Olympus Image Binary Format *.oib file type,
type file name, and click on Save button. (Log‐in user
and its associate folder will be created as you become
self‐user).
4. To set up your image folder where you can jump directly by
clicking My Image Folder button, select Tools/Option menu.
Click General tab and specify the path of your image folder
with Browse.. button. [Upon creating a user account, each
user will have its own folder in D drive (Do not create any
folder in C drive.). Click OK button.
5. Oib file type contains all the metadata including all the
acquisiotn parameters and it can be opened in FV10‐ASW
program. The light version of this program is available for
installing in user's own computer. Otherwise, the image
file can be exported as other file format so that it can be opened and processed in other imaging software.
To export images:
1. Select File/Export or File/Export Multi‐Tiff menu. Click My
Image Folder button if the current folder is not yours.
2. With Export Multi‐Tiff option, it saves the image as a
single tiff file that can contain multiple frames, like z‐ or
timelapse‐ series. This file type can be opened in Image J
software.
Check the Save Properties As ASCII Text box to save the
metadata that contain information about the image
acquisition setting. This data will be useful to find out the imaging condition later with other programs.
August 3, 2011
