- ページ 6
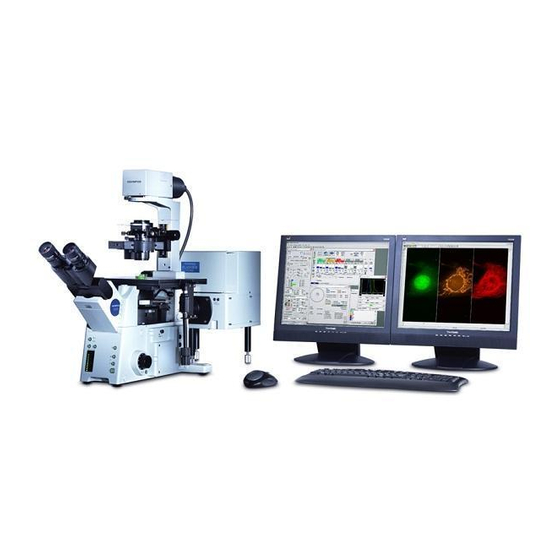
顕微鏡 Olympus Fluoview FV1000のPDF ユーザーマニュアルをオンラインで閲覧またはダウンロードできます。Olympus Fluoview FV1000 9 ページ。 Confocal microscope
Olympus Fluoview FV1000 にも: 概要 (28 ページ), ユーザーマニュアル (42 ページ), 簡単な説明 (7 ページ), 簡単な説明 (7 ページ), マニュアライン (3 ページ)

Olympus FV1000 User guide
August 3, 2011
c
Click Stop
button. Adjust the Scan Speed if needed, click Depth
button ("Z" will be appear on the XY
d
button to become XYZ), and then click XYZ
button.
When acquisition is done, Append Next/SeriesDone
e
e
button will appear over the Stop button. Click
Append Next button to add additional sections at next
step (enter the number of series you want to add) or
click SeriesDone to finish the acquisition. Save the image.
F. Sequential Scanning Mode
Use sequential scanning to prevent possible
d
cross‐talk and/or bleed‐through between the
emissions of the fluorophores you used.
f
Check the Sequential box
and it will bring up
the sequential scan information window. Choose
g
between Line or Frame mode
.
Line: by line‐by‐line, it scans one channel with
only a specific laser line and detector on and then
f
g
sequentially scans the next channel with only a
another laser line and detector on.
Frame: it scans sequentially frame‐by‐frame; it
finishes scanning one channel first and then scans
the next channel.
If there is no bleed‐through
between the emissions of some
fluorophores you are using, you
can group them together to scan
them simultaneously as a group. Simply click on the fluorophore name on the list and drag to the other group.
Note: it will be good to set up the acquisition condition for each channel before using the Sequential mode.
To do so, first in simultaneous mode (unchecked Sequential box), set the acquisition condition by turning on
only the specific laser for the specific channel.
Scan with Focus x2 or XY Repeat button to see to check if there is any bleed‐through. If not, stop scanning,
and set the Scan speed at a slower rate and click XY(Z) button to acquire the image.
