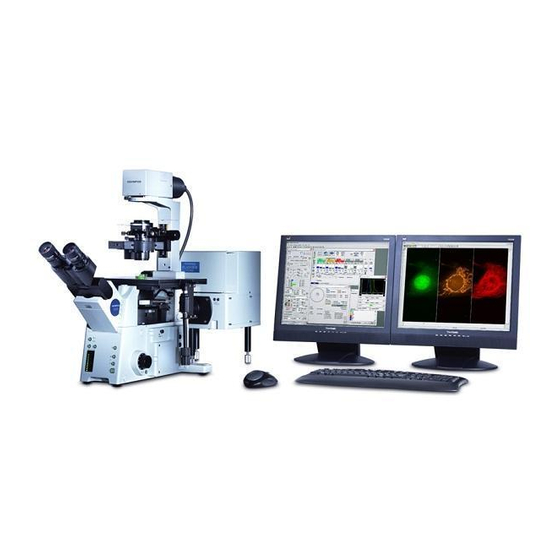
Olympus Fluoview FV1000 사용자 설명서 - 페이지 6
{카테고리_이름} Olympus Fluoview FV1000에 대한 사용자 설명서을 온라인으로 검색하거나 PDF를 다운로드하세요. Olympus Fluoview FV1000 9 페이지. Confocal microscope
Olympus Fluoview FV1000에 대해서도 마찬가지입니다: 개요 (28 페이지), 사용자 설명서 (42 페이지), 간단한 지침 (7 페이지), 간단한 지침 (7 페이지), 매뉴얼 (3 페이지)

Olympus FV1000 User guide
August 3, 2011
c
Click Stop
button. Adjust the Scan Speed if needed, click Depth
button ("Z" will be appear on the XY
d
button to become XYZ), and then click XYZ
button.
When acquisition is done, Append Next/SeriesDone
e
e
button will appear over the Stop button. Click
Append Next button to add additional sections at next
step (enter the number of series you want to add) or
click SeriesDone to finish the acquisition. Save the image.
F. Sequential Scanning Mode
Use sequential scanning to prevent possible
d
cross‐talk and/or bleed‐through between the
emissions of the fluorophores you used.
f
Check the Sequential box
and it will bring up
the sequential scan information window. Choose
g
between Line or Frame mode
.
Line: by line‐by‐line, it scans one channel with
only a specific laser line and detector on and then
f
g
sequentially scans the next channel with only a
another laser line and detector on.
Frame: it scans sequentially frame‐by‐frame; it
finishes scanning one channel first and then scans
the next channel.
If there is no bleed‐through
between the emissions of some
fluorophores you are using, you
can group them together to scan
them simultaneously as a group. Simply click on the fluorophore name on the list and drag to the other group.
Note: it will be good to set up the acquisition condition for each channel before using the Sequential mode.
To do so, first in simultaneous mode (unchecked Sequential box), set the acquisition condition by turning on
only the specific laser for the specific channel.
Scan with Focus x2 or XY Repeat button to see to check if there is any bleed‐through. If not, stop scanning,
and set the Scan speed at a slower rate and click XY(Z) button to acquire the image.
