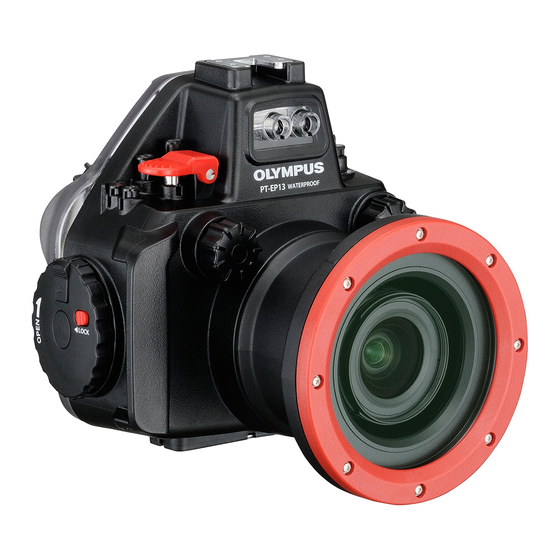
Seal the Case
1 Close the Case gently while aligning the mounting projection of the rear lid and groove.
2 Turn the open/close dial counter clockwise (1 of figure below) until you hear a "click" sound and lock
the Case.
• The Case is sealed.
3 Slide the lock knob towards the LOCK side (2 of figure below).
4 Lower the ON/OFF lever.
CAUTION:
• If the open/close dial is not fully turned, the Case will not be sealed. This will cause water leakage.
• Close the rear lid of the Case so that the lens cap, silca gel or monitor hood strap doesn't catch. If it catches,
water leaks may result.
Attach the diffuser
• When using the flash supplied with the camera, attach the diffuser. When doing this, do not cap the
optical fiber cable insertion slot.
• For details of how to attach the diffuser, refer to "Using the diffuser" (P.9).
EN
Check the operation of the loaded camera
After sealing the Case, check that the camera operations normally.
• Operate the ON/OFF lever on the Case and confirm that the camera turns ON/OFF.
• Turn the mode dial on the Case and confirm that the camera mode switches properly.
• Operate the lever and confirm that the camera lever position switches properly.
• Press the shutter lever on the Case and confirm that the camera shutter releases.
• Operate other control buttons/levers on the Case and confirm that the camera functions properly as
intended.
EN 15
Close
1
Open/close dial
Lock knob
2
