- ページ 3
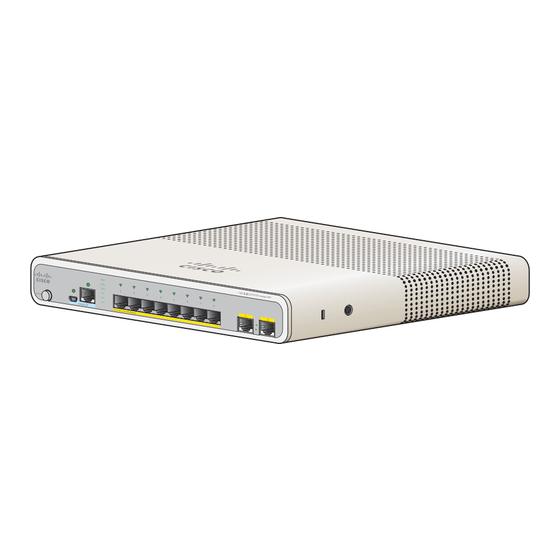
スイッチ Cisco 2960-CのPDF インストレーション・マニュアルをオンラインで閲覧またはダウンロードできます。Cisco 2960-C 37 ページ。
Cisco 2960-C にも: スタートマニュアル (25 ページ)

Chapter 2
Switch Installation
For connections outside the building where the equipment is installed, the following ports must be
Warning
connected through an approved network termination unit with integral circuit protection: 10/100/1000
Ethernet. Statement 1044
To prevent the system from overheating, do not operate it in an area that exceeds the maximum
Warning
recommended ambient temperature of: 113°F (45°C)
Statement 1047
Note
No user-serviceable parts inside. Do not open. Statement 1073
Warning
Installation of the equipment must comply with local and national electrical codes. Statement 1074
Warning
Warning
To prevent airflow restriction, allow clearance around the ventilation openings to be at least:
3 in. (7.6 cm) Statement 1076
Warning
Hot surface. Statement 1079
Note
Installation Guidelines
Before installing the switch, these guidelines must be met:
•
•
•
•
OL-23803-02
For Catalyst 3560CG-8PC-S, 3560CG-8TC-S, and 2960CG-8TC-L switches, the maximum
recommended ambient temperature is: 104°F (40°C).
Applies to the Catalyst 3560CG-8PC-S switch.
The operating environment must be within the ranges listed in
Specifications."
Cabling is away from sources of electrical noise, such as radios, power lines, and fluorescent
lighting fixtures. Make sure that the cabling is away from other devices that might damage the
cables.
Airflow around the switch and through the vents must be unrestricted. We strongly recommend that
you allow at least 3 in. (7.6 cm) of clearance from the left, right, and top sides of the switch to avoid
any flow blockage. If you are installing the switch in a rack, allow at least 1.75 in.
(4 cm) of empty rack space above each switch.
Catalyst 3560CG-8PC-S, 2960C-8PC-L, 2960C-12PC-L, 3560C-8PC-S, and 3560C-12PC-S
switches: Allow at least 1.75 in. (4 cm) clearance from the ends of the external heat sink fins.
Catalyst 3560-C and 2960-C Switch Hardware Installation Guide
Preparing for Installation
Appendix A, "Technical
2-3
