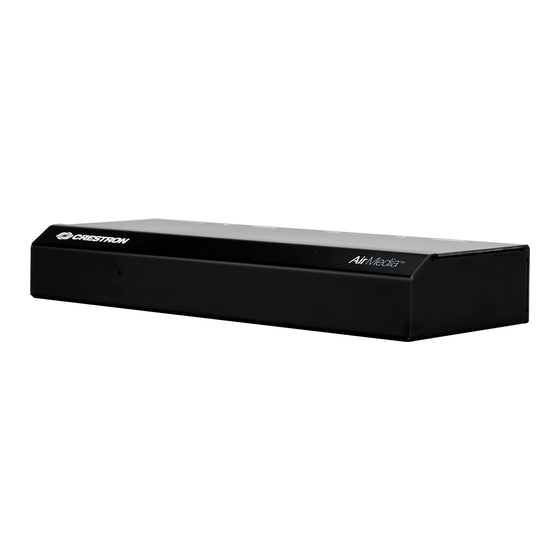
会議システム Crestron AM-100 AirMediaのPDF クイック・スタート・マニュアルをオンラインで閲覧またはダウンロードできます。Crestron AM-100 AirMedia 2 ページ。 Airmedia presentation gateway
Crestron AM-100 AirMedia にも: クイックスタートマニュアル (2 ページ)

AM-100
Introduction
1
The AirMedia
Presentation gateway delivers a simple, low-cost wireless HD presentation solution.
®
2
Hardware Hookup
Make the necessary connections as called out in the illustration below. When making connections to the
AM-100, use Crestron
power supplies for Crestron equipment. Apply power after all connections have
®
been made.
To Display's HDMI Input
LAN:
10BASE-T/100BASE-TX Ethernet to LAN
SERVICE:
VGA OUT:
Not Used
To display's VGA input
(use with AUDIO OUT)
NOTE: Typical Installation uses only the HDMI OUT or the VGA OUT-AUDIO OUT connection.
Share a Presentation
3
This section provides instructions on sharing a desktop on a display device. For instructions on remotely
viewing a shared desktop, refer to section 4.
Make all connections as described in the "Hardware Hookup" above. The connected display shows the
AM-100 welcome screen.
1
For details, refer to the AM-100 Operations Guide,
Doc 7463.
QUICKSTART DOC. 7464E (2036013)
AirMedia
Presentation Gateway
®
Download the Client Application
The AM-100 can use a client application to share a PC or a Mac (hereafter referred to as a
"computer") desktop. The computer should be able to access the AM-100 over the network.
NOTE: Mobile devices can share content using the AirMedia for AM-100 app, which is available for
iOS
®
and Android™ devices. Download the latest version from the App Store
software or the Google Play™ store.
1. On the computer, open a web browser, and navigate to the web address or IP address displayed
on the top left of the AM-100 welcome screen. The download screen is displayed.
HDMI
®
OUT:
5V 2.6A:
From AC Power Pack
2. Click the Download icon for the computer's operating system to download the client application.
The client application requires no installation. The application can either be saved and run locally,
AUDIO OUT:
or run from the Internet.
To display's audio input
NOTE: When used on a Mac
(use with VGA OUT)
the disk image file. Do not drag the application of the disk image file.
Share the Computer Desktop
1. Run the client application. The Enter Code (Enter Passcode on Mac) screen is displayed.
Enter Code (L-R, Windows
2. Enter the code displayed on the AM-100 welcome screen, and click OK (CONFIRM on Mac). The
client establishes a connection between the the computer and the AM-100 while displaying the
AirMedia controls on the computer.
Crestron AirMedia Controls (L-R, Windows and Mac)
2. Direct the presentation with the following controls:
• Click A to stop showing the computer's screen.
• Click H to start showing the computer's screen.
• Click b to freeze the computer's screen.
• Hover over
• Click
• Click
www.crestron.com
12.17
Specifications subject to
change without notice.
®
app in iTunes
®
computer, the AirMedia client application must be run from within
and Mac)
®
to show a volume slider control and drag the slider to raise or lower the volume.
to mute the audio output.
to unmute the audio output.
888.273.7876
201.767.3400
• Click X to close the client application and the connection between the computer and the AM-100.
On a Mac, click
to close the client application and the connection between the computer and
the AM-100.
• Click ― to minimize the presentation control screen. On a Mac, click
®
presentation control screen.
Other Functions
Click Details to control remote viewing and video performance. For details, refer to the AM-100
Operations Guide (Doc. 7643) at crestron.com/manuals.
View a Presentation Remotely
4
This section provides instructions on remotely viewing a shared desktop. For instructions on sharing a
desktop, refer to "Share a Presentation."
If Remote View is enabled, audience members can view desktop images via the AM-100's built-in web
server. Perform the following procedure to remotely view images:
1.
Open a web browser on a remote computer and navigate to the web address or IP address
supplied by the user or users that are sharing their desktops. The download screen is
displayed.
2. Click Remote View. The shared desktop is displayed in the web browser as a web page.
3. Use the following buttons when viewing the AM-100's output in a web browser.
Exit remote viewing and return to the download screen.
Pause the currently displayed image.
Save the currently displayed image.
View the currently displayed image at actual size.
View the currently displayed image at full-screen size.
Refresh the image.
to minimize the
