- ページ 5
エンジン Crestron Electronics CSMI-QMTDC SeriesのPDF クイック・スタート・マニュアルをオンラインで閲覧またはダウンロードできます。Crestron Electronics CSMI-QMTDC Series 9 ページ。 Replacement motor
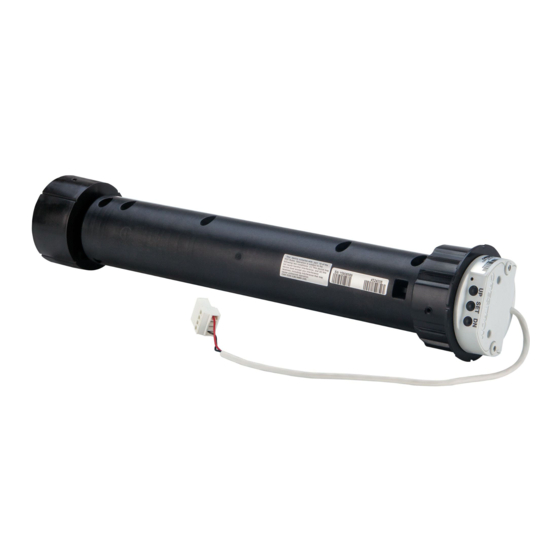
CSM(I)-QMTDC Series Motor Replacement
Replacement Motor
Test the Shade
Before the shade is operated, test the motor to ensure that the shade
travels in the correct direction when being operated.
NOTE:
Before using the CSM(I)-QMTDC shade motor, ensure the
device is using the latest firmware. Check for the latest firmware for
the CSM(I)-QMTDC shade motor at www.crestron.com/firmware.
Firmware is loaded onto the device using Crestron Toolbox™ software.
Test the Motor Direction
Press the DN button to lower the shade about 1 inch. If the shade travels
up, reverse the motor direction.
NOTE:
Reversing the motor direction resets all previously set limits.
After either the upper or lower limit is set, the motor automatically
enters Limit Setup mode for the opposite limit. Follow the procedure in
Set the Shade Limits
to reassign limits.
To reverse the shade direction, press and hold the SET button for 10
seconds. The red LED lights for 3 seconds.
Test the Shade Travel
Test the travel of the shade fabric to ensure that it does not come in
contact with building materials and that the upper and lower shade limits
are properly set.
WARNING:
Care has been taken to ensure that the shade is properly
balanced. Prior to initial operation, confirm that the brackets are
adjusted so that the shade hangs level and plumb. Upon startup, run
the shade all the way down and check for plumb. Observe the shade
closely as it rolls up. If the shade begins to telescope, stop immediately
and take the appropriate action to ensure the shade tracks properly.
To prevent damage to the fabric from telescoping, do not leave the
shade unattended during the first few cycles of operation. Failure to
follow these instructions may result in damage to the edge of the
fabric, which is not covered by the warranty.
NOTE:
For Crestron Horizontal Sheers, the lower limit is defined as the
point before the hem bar tilts.
To test the lower limit:
1. Using the DN button, lower the shade until it reaches its lower limit.
Stop and adjust the mounting brackets if the fabric contacts any
building materials.
2. Verify that the shade stops at the desired lower limit. If the shade does
not travel to the desired lower limit, adjust the shade limits. For details,
refer to
Set the Shade
Limits.
To test the upper limit:
1. Using the UP button, raise the shade until it reaches its upper limit.
Stop and adjust the mounting brackets if the fabric contacts any
building materials.
2. Verify that the shade stops at the desired upper limit. If the shade does
not travel to the desired upper limit, adjust the shade limits. For
details, refer to
Set the Shade
Quick Start
Limits.
5