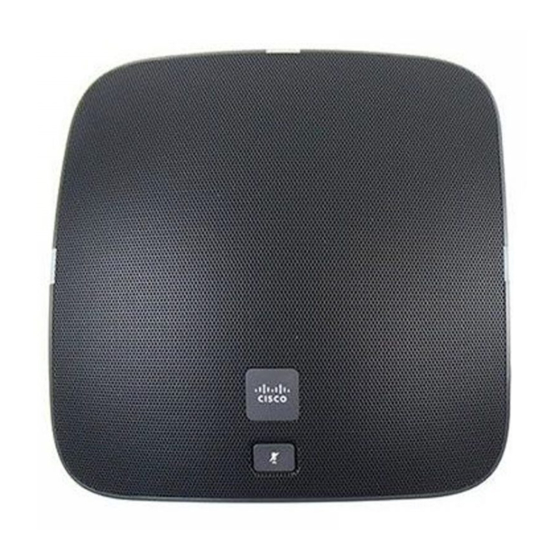
Use these procedures to install the phone and connect it to your network.
Turn the Sound Base over to expose the ports on the back of the unit.
Step 1
Connect the Display Control Unit (DCU) to the Sound Base.
Step 2
If you are using an external microphone, connect it to one of the microphone jacks.
Step 3
Note
You can connect 2 wired microphones to the Sound Base.
Step 4
If you are using an external power source, insert one end of the power cord into an outlet and insert the
other end of the power cord into the power port on the Sound Base.
Step 5
Connect your phone to the network:
•
Using an Ethernet Connection—Insert one end of the Ethernet cable into the network port on
the phone body marked "SW." Insert the other end of the Ethernet cable into the appropriate
device, such as a network switch, on your network.
•
Using a Wireless Connection—You can use a Cisco WBPN Wireless-N Bridge with the IP
phone to create a wireless connection between the phone and the network. See the WBPN
documentation on Cisco.com for more information. The
contains links to the documentation area on Cisco.com.
If you are using 2 Sound Bases, they should be daisy chained. (Connect the daisy chain cable to the daisy
Step 6
chain cable port in the Sound Bases.)
The DCU should be connected only to the master unit (Sound Base with wall power, DCU, and
Note
network cable) of a daisy chain.
Install the Cisco Unified IP Conference Phone 8831 for Third-Party Call Control
Cisco Unified IP Conference Phone 8831 for Third-Party Call Control Quick Start Guide
"Related Documentation"
section
3

