- ページ 7

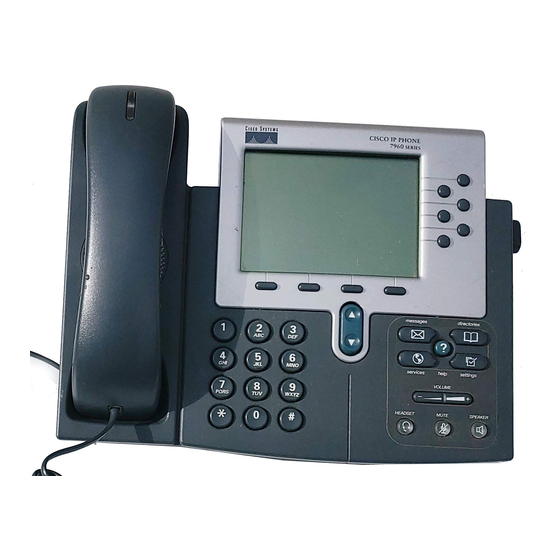
IP電話 Cisco Cisco 7960のPDF クイック・リファレンス・マニュアルをオンラインで閲覧またはダウンロードできます。Cisco Cisco 7960 12 ページ。 Ip phone & unity voicemail
Cisco Cisco 7960 にも: ユーザーマニュアル (19 ページ), ユーザーマニュアル (12 ページ), カスタマイズされたユーザーマニュアル (2 ページ), マニュアル (35 ページ), ユーザーマニュアル (15 ページ), インストールおよび設定マニュアル (10 ページ), ユーザーマニュアル (23 ページ), ユーザーマニュアル (14 ページ), リファレンス・マニュアル (2 ページ), クイック・リファレンス・マニュアル (2 ページ), ユーザーマニュアル (28 ページ), ユーザーマニュアル (16 ページ), クイック・ユーザー・マニュアル (2 ページ), ユーザーマニュアル (9 ページ), リファレンス・マニュアル (4 ページ), クイック・スタート・マニュアル (12 ページ), マニュアル (8 ページ), ユーザーマニュアル (20 ページ), ユーザーマニュアル (14 ページ), クイック・リファレンス・マニュアル (12 ページ), 管理者マニュアル (10 ページ), ユーザーマニュアル (6 ページ), クイック・ユーザー・マニュアル (2 ページ), リファレンス・マニュアル (17 ページ), クイックマニュアル (2 ページ), ユーザーマニュアル (3 ページ), クイック・ユーザー・マニュアル (2 ページ), クイック・インストール・マニュアル (1 ページ), マニュアル (21 ページ), ユーザーマニュアル (3 ページ), はじめに (50 ページ), クイック・スタート・マニュアル (6 ページ), クイック・スタート・マニュアル (2 ページ), クイック・リファレンス・マニュアル (2 ページ), クイック・スタート・マニュアル (2 ページ), スタートマニュアル (27 ページ), リファレンス・マニュアル (3 ページ), ユーザーマニュアル (12 ページ), ユーザーマニュアル (12 ページ)

Cisco Cisco 7960 クイック・リファレンス・マニュアル
Step 5  If desired, press the Dial softkey to speed dial the highlighted number from the 
call history list.  
You might need to use the Edit softkey to add digits to the front of the number. For 
example, if the call was from an outside, long‐distance caller, you might need to add the 
digits "91" to the front of the number.  
Step 6  When you are finished, press the Exit softkey twice to exit the selected directory 
menu and exit the directories menu.  
CALL FORWARDING 
Using Call Forwarding (Softkey) 
Call Forwarding for the Cisco IP Phone 7940/7960 might be handled from a network 
configuration by the system administrator; or call forwarding can be set up by performing the 
following steps.  
Step 1  Press the Forward softkey.  
Step 2  Dial the Outside Access Digit enter the digits for the number (to which the 
phone will be forwarded) using the dial pad. Please Forward softkey to confirm the 
number. 
Step 3  When finished dialing, verify Forwarded to xxxxxxxxx (which is the number the 
phone is forwarded to) is displayed above the softkeys on the LCD screen.  
Disabling Call Forwarding  
Call Forwarding for the Cisco IP Phone 7940/7960 can be disabled by performing the 
following steps.  
Step 1  Press the Forward softkey. Press the more softkey. Press EndCall softkey. 
Step 2  Verify the message Forwarded to xxxxxxxxx is no longer displayed on the LCD 
screen.  
To Enable call forwarding (remotely) 
To enable call forwarding from a remote location, call into our Call Forwarding System.    
Step 1   Dial 208‐287‐5427.  
Step 2  Enter your ten digit phone number (desk phone) followed by the # key.  
Step 3  Then enter your web portal password followed by the # key. (Note: if you do 
not have web portal enable use 3278 as your password.) 
Step 4   Enter the ten digit number that you would like your calls forwarded to, 
followed by the # key. Once the number is entered and accepted the call will 
disconnect. 
Step 5   Hang up. 
To disable the feature 
Step 1   Dial 208‐287‐5427.  
Step 2  Enter your ten digit phone number (desk phone) followed by the # key.  
Step 3  Then enter your web portal password followed by the # key. (Note: if you do 
not have web portal enable use 3278 as your password.) 
Step 4   Press the # key, to overwrite the forwarding number.  
Step 5   Hang up. 
To Enable call forwarding (Out of Service) 
Call Forward (Out of Service) automatically forwards calls to another location when your 
business phone goes out of service due to switch failure, internet loss or power loss. This 
feature must be preconfigured prior to the outage. This feature is only for each individual 
phone sets and does not apply to ported main numbers. Please call the Help Desk at 208‐287‐
5524 to setup Main Number Out of Service Forwarding 
To enable Call Forward (Out of Service) 
Step 1 Lift the handset and dial 70*. 
Step 2 Enter the number using your dial pad. 
7 | P a g e