- ページ 2
プロジェクター Epson LCD projectorのPDF マニュアルをオンラインで閲覧またはダウンロードできます。Epson LCD projector 11 ページ。 Itrc guide
Using the LCD Projector
Setting Up
1. Place the projector on a stable flat surface 3-40 feet from the screen.
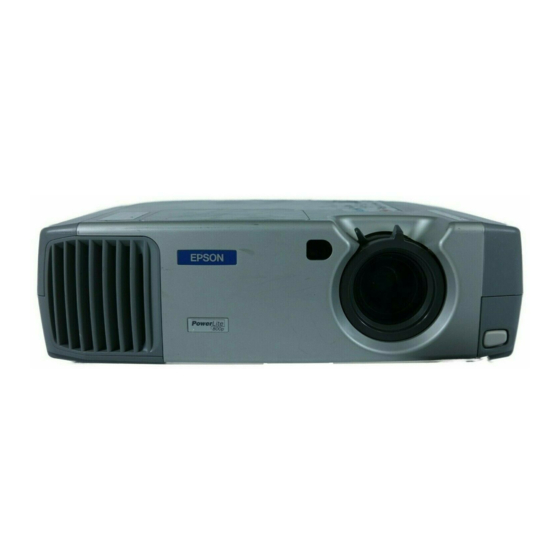
2. Connect the computer
cable to the Computer
2/Component Video port
on the back of the
projector as shown in this
picture, and the video-
out or monitor port of your computer.
3. Connect the end of the power cord to the power inlet on the back of the projector,
and the other end to a grounded electrical outlet.
4. Remove the lens cap.
5. Press the red power button on top of the projector. The Power light
will flash for about 30 seconds before the image appears
6. Turn on your computer. If you see a new hardware wizard telling you it
has found a plug-and-play monitor, press cancel. If the message is about USB
audio, click Next and follow screen directions.
a. At this point, the computer screen should be projected onto the overhead
screen.
b. If you are using a video source, and not a computer, press play on the
video source.
7. Focus the image using the rings on the lens. You may also make the image larger
or smaller by using the Wide/Tele ring.
8. Raise the image by extending the
projector's foot, found on the bottom,
front of the projector. The release
button for the foot is found on the lower
right side of the lens. If the projected
image is unleveled, use the back
adjustable foot. This is located on the
back of the projector, on the left side,
when viewing the back of the projector.
9. Use the keystone options to adjust the
image if it appears trapezoidal.
10. Adjust the screen image by using the
menu option described in Appendix A.
Page 2 of 10
Last Modified: 3/22/2010