- ページ 10
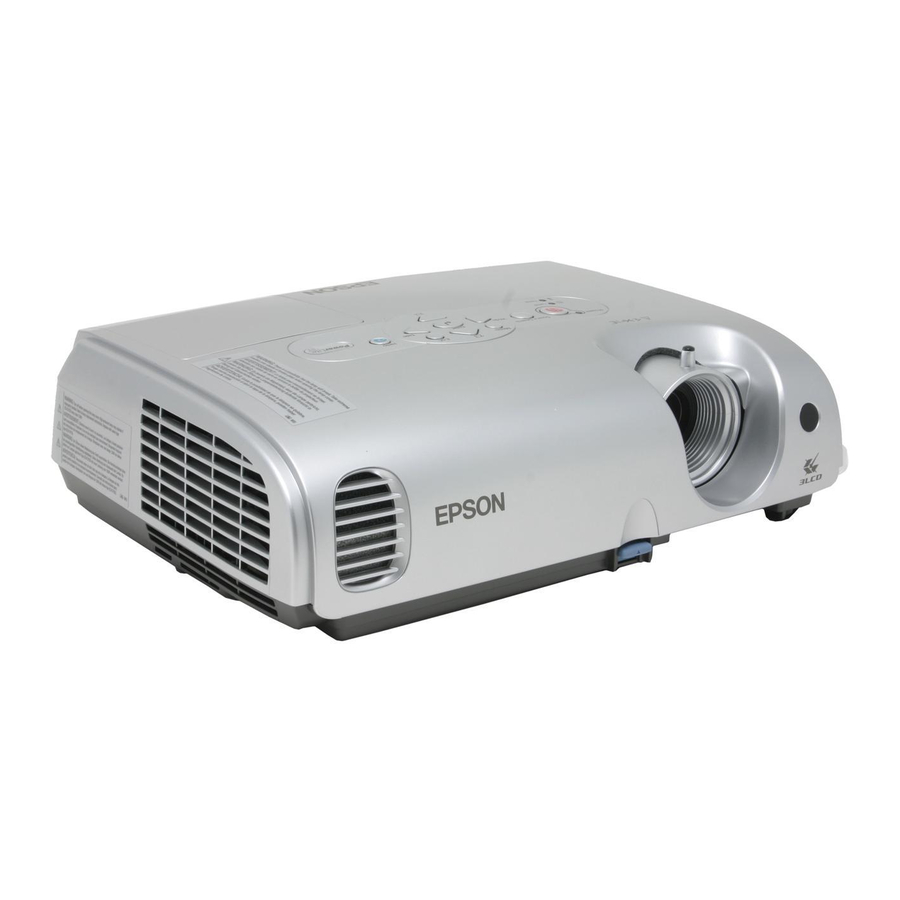
プロジェクター Epson V11H179020 - PowerLite S3 SVGA LCD ProjectorのPDF 製品情報をオンラインで閲覧またはダウンロードできます。Epson V11H179020 - PowerLite S3 SVGA LCD Projector 15 ページ。 Supplemental / late breaking information
Epson V11H179020 - PowerLite S3 SVGA LCD Projector にも: 仕様 (2 ページ), インストレーション・マニュアル (19 ページ), クイック・セットアップ・マニュアル (7 ページ), 仕様 (1 ページ)

Epson PowerLite S3 Projector
❏ A strong light source (such as direct sunlight) shines into the
infrared receiver
❏ Other equipment emitting infrared energy is present (such as
a radiant room heater)
Remote Control Buttons
x
z
E-Zoom
E-Zoom
zooms
reduces the
in on (enlarges)
zoomed image
selected area
Selects a menu
option or displays
the next screen
or menu
Cancels current
function or
displays previous
menu or screen
Selects
computer or
component
video source
Selects S-Video
or Video source
Automatically
adjusts computer
images to the
optimum settings
10 - Epson PowerLite S3 Projector
Selects menu items and
settings; when using the
E-Zoom function, moves
the scope and scrolls the
image
Turns
projector
on or off
Turns off audio
and video; press
again to resume
Freezes the
current video or
computer image
Displays or
hides projector
menus
Cycles through
7 color modes
Changes the
aspect ratio of
images from
4:3 to 16:9
3/05
Using the Menus
The on-screen menus let you adjust and customize the projector
features from the remote control:
❏
controls the look and quality of the projected image
Image
(from a computer or video source).
❏
adjusts features such as the keystone setting, blank
Setting
screen color, sleep mode, and rear or ceiling projection.
❏
provides information about the current projector and
Info
lamp settings.
❏
restores the factory defaults to all the projector
Reset
settings and lets you reset the lamp timer when you've
replaced the projector's lamp.
Changing Menu Settings
You use the
,
, and
e
Menu
to change menu settings.
1. Press the
button. The top configuration menu is
Menu
displayed.
2. Press the u or d buttons to select the Top Menu item.
3. Press the e button. Sub Menu 1 is displayed.
4. Press the u or d buttons to select the Sub Menu 1 items,
then press the e button.
5. For Sub Menu 2, press the u or d buttons in the same way,
then press the e button.
6. Settings can be changed in the follwing ways:
❏ Press the l or r buttons to change the setting values.
❏ Press the u or d buttons to select the menu item.
Then press the e button.
The current setting has a green dot by the name and the
current menu selection is highlighted in orange.
Press the e button to confirm the selection.
❏ Press the l or r buttons to select the value.
Then, press the e button.
❏ Press the u d l r buttons to move the image display
position.
7. Set other items in the same way.
Press the
button to return to the previous item or menu,
Esc
or select
.
Return
8. Press the
button to finish.
Menu
Note: The
mark is displayed after items which select a setting or
lead to a sub menu.
buttons on the remote control
Esc
