- ページ 8
プロジェクター Epson V11H179020 - PowerLite S3 SVGA LCD ProjectorのPDF 製品情報をオンラインで閲覧またはダウンロードできます。Epson V11H179020 - PowerLite S3 SVGA LCD Projector 15 ページ。 Supplemental / late breaking information
Epson V11H179020 - PowerLite S3 SVGA LCD Projector にも: 仕様 (2 ページ), インストレーション・マニュアル (19 ページ), クイック・セットアップ・マニュアル (7 ページ), 仕様 (1 ページ)

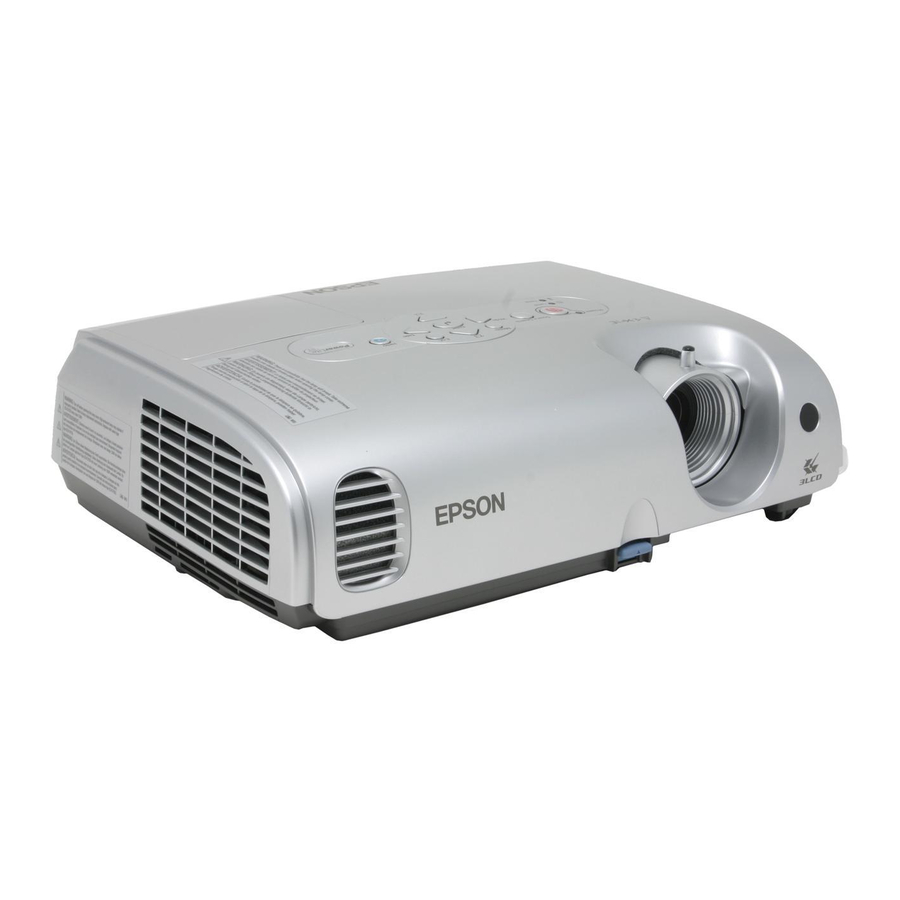
Epson PowerLite S3 Projector
Selecting the Color Mode
There are seven color modes.
The mode changes each time you
press the
button on
Color Mode
the remote control. Make a
selection appropriate for the
image and current conditions.
❏ Photo (Computer or RGB video)
Images are vivid and high-contrast. Ideal for projecting still
pictures, such as photos, in a bright room. Photos that are
under- or over-exposed look best in this mode.
❏ Sports (Component video, S-video, or composite video)
The images are vivid. Ideal for watching TV programs in a
bright room.
❏ Presentation
Ideal for giving presentations in a bright room
❏ Theatre
Gives images a natural tone. Ideal for watching films in a
dark room.
❏ Blackboard
When projecting onto a blackboard (green board), gives
your images a natural tint, just like projecting onto a screen.
❏ sRGB
Conforms to the sRGB color standard. If the connected
source has an sRGB mode, set both the projector and the
connected source to sRGB.
❏ Game
Excels at emphasizing dark gradations. Ideal for playing
video games in a bright room.
Note: You can also change the color mode through the Image menu.
Using the Automatic Setup
If you are projecting from a computer, the projector
automatically adjusts the input signals to produce the best
image quality. Automatic setup adjusts the Tracking, Sync, and
other image settings.
However, if
in the Image menu is set to
Auto Setup
need to press the
button on the remote control while
Auto
projecting from a computer to have the projector make the
adjustments.
8 - Epson PowerLite S3 Projector
Sometimes the signals may not be adjusted correctly, depending
on the type of signals being output by the computer. In such
cases, use the Image menu to adjust the tracking and sync
settings manually.
Color
mode
Selecting the Aspect Ratio
button
The aspect ratio is the ratio between an image's width and its
height. Standard images have an aspect ratio of 4:3 and HDTV
and DVD images have an aspect ratio of 16:9. If your video
source is 16:9, you can change the aspect ratio to view the video
in 16:9 wide-screen format.
Press the
Resize
the remote control to change
the aspect ratio.
Turning Off the Picture and Sound
Press the
A/V Mute
your screen and turn off the sound. When you're ready to
resume, press
If you press the button while projecting from a video source,
and you don't pause the video, it continues to play even though
you can't see or hear it. When you press the
again to resume, the playback does not resume at the exact
point you paused it.
Note: You can make the blank screen blue, instead of black,
whenever you press the
background color in the Extended > Display menu.
Freezing the Action
, you
OFF
Press the
Freeze
freeze the action on the screen. This freezes any moving images
on the screen until you press the
3/05
button on
button on the remote control to darken
again.
A/V Mute
button by selecting it as the
A/V Mute
button on the remote control to temporarily
Freeze
Resize
button
button
A/V Mute
button again.
