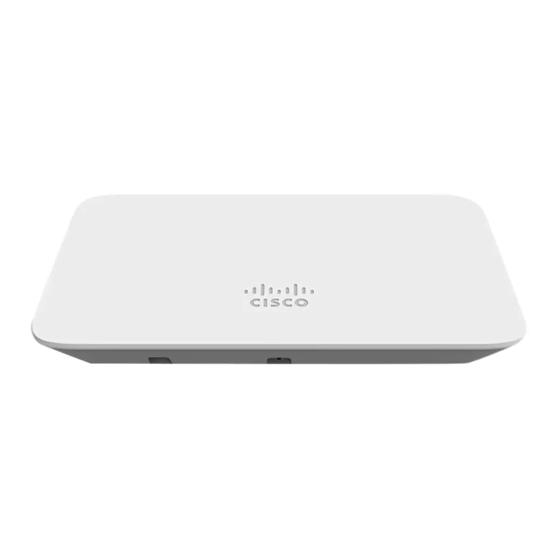
- ページ 5
無線アクセスポイント Cisco Meraki MR20-HWのPDF インストレーション・マニュアルをオンラインで閲覧またはダウンロードできます。Cisco Meraki MR20-HW 15 ページ。 Cloud-managed access point

Check and Upgrade Firmware
To ensure your MR20-HW performs optimally immediately following installation, it is
recommended that you facilitate a firmware upgrade prior to mounting your MR20-HW.
1. Attach your MR20-HW to power and a wired Internet connection. See the "Power
the MR20-HW" section for details.
2. The MR20-HW will turn on and the LED will glow solid orange. If the unit does not
require a firmware upgrade, the LED will turn either green (no clients associated)
or blue (clients associated) within thirty seconds.
* If the unit requires an upgrade, the LED will begin blinking orange until the upgrade is
complete, at which point the LED will turn solid green or blue. You should allow at least a
few minutes for the firmware upgrade to complete, depending on the speed of your
internet connection.
Check and Configure Firewall Settings
If a firewall is in place, it must allow outgoing connections on particular ports to particular
IP addresses. The most current list of outbound ports and IP addresses for your particular
organization can be found here.
Assigning IP Addresses to MR20-HWs
All gateway MR20-HWs (MR20-HWs with Ethernet connections to the LAN) must be
assigned routable IP addresses. These IP addresses can be dynamically assigned via
DHCP or statically assigned.
Dynamic Assignment
When using DHCP, the DHCP server should be configured to assign a static IP address
for each MAC address belonging to a Meraki AP. Other features of the wireless network,
such as 802.1X authentication, may rely on the property that the APs have static IP
addresses.
Static Assignment
Static IPs are assigned using the local web server on each AP. The following procedure
describes how to set the static IP:
1. Using a client machine (e.g., a laptop), connect to the AP wirelessly (by associating
to any SSID broadcast by the AP) or over a wired connection.
2. If using a wired connection, connect the client machine to the MR20-HW either
through a PoE switch or a PoE Injector. If using a PoE switch, plug an Ethernet
cable into the MR20-HW's Ethernet jack, and the other end into a PoE switch.
Then connect the client machine over Ethernet cable to the PoE switch. If using a
PoE Injector, connect the MR20-HW to the "PoE" port of the Injector, and the
client machine to the "LAN" port.
3. Using a web browser on the client machine, access the AP's built-in web server by
browsing to http://my.meraki.com. Alternatively, browse to http://10.128.128.128.
