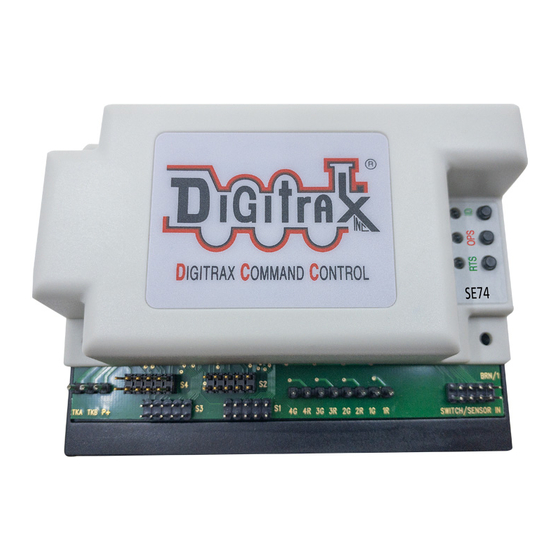
4.0 SE74 Options: OPSW changes
havior can be configured using non-volatile OPSW's. The Factory default OPSW
settings will configure most common requirements.
1.
Press and hold the OPS button for about 3 seconds until the green ID and
RTS LEDs blink alternately. Release the OPS button. The SE74 is now setup
to configure OPSW 1 to 48 by sending the required SW# as C or T to setup
an option.
2.
Send a SW# in range 1-48 as C/T matching the valid settings from Table 1
OPSW settings shown below.
3.
When finished press and hold OPS button for 3 seconds to exit OPSW setup
mode. The SE74 will now restart with the new OPSW settings.
Factory default OPSW settings are shown in BOLD.
4.
5.
OPSW's not in this table are reserved and should be kept at Factory default T
settings for predictable operation.
6.
OPSW40 =C will reset to Factory defaults on OPSW mode exit
Table 1: SE74 OPSW setting table
OPSW# Default=bold Action:
T
1
T
5
T
6
T
10
T
11
T
14
T
15
T
16
T
30
T
33
T
34
T
35
T, T
37,36
C, T
T, C
C, C
T
38
T
40
41
T
© 2022 Digitrax, Inc.
:
C = Slow motion turnouts, T = pulse/solenoids
C =DCC Aspect control mode, T = SW control
C =Disable internal Routes
C = Bushby bit active
C = 8 input lines trigger Routes
C = DCC SW commands only
C = Do not echo Route SW's to Loconet
C = Solenoid pulse hi CD voltage
C = Send B2 not B0 input SW messages
C = 2-wire searchlight signals (figures 8/9)
C = Searchlight, T = 3 color signals
C = Common cathode signals, T=common anode
Flashing Yellow, 4th SW aspect
Flashing Red, 4th SW aspect
Dark, 4th SW aspect
Flashing Green, 4th SW aspect
C = Disable SW1021/1022 signal broadcast
C = Set Factory defaults
C = Make Lunar aspects Persistent
— 5 —
The SE74 configuration and be-
www.digitrax.com
