- ページ 3
メディア・コンバーター Digitrax SoundFX SDXN146K2のPDF マニュアルをオンラインで閲覧またはダウンロードできます。Digitrax SoundFX SDXN146K2 12 ページ。

Figure 2: SDXN146K2: Completed installation without locomotive shell
6.
Replace the locomotive shell.
7.
Place the loco on an active DCC track powered by a compatible DCC system
and select the factory default address 03 to enable sounds for testing.
8.
Be sure F8 (mute) is OFF to allow sound output, and then press
F1 (bell) or F2 (whistle/horn) ON to hear the associated sounds.
9.
Customize sounds by programming Sound CVs to adjust the desired config-
urations, as shown in the following tables of SoundFX CVs. Sound schemes
other than the 8 factory preloaded can be loaded by using a Digitrax PR3
SoundFX Programmer
Note: This is a example installation for this Locomotive, other installs
may require modification of the locomotive to make space for the speaker
and capacitor.
Customizing Your Decoder
Your Digitrax SDXN146K2 SoundFX decoder is ready to run and will
operate and generate sound using address 03 with no additional
programming. On your Digitrax system, simply select the locomotive's
address and the sound will start. On some DCC systems, it is necessary to
select the locomotive address AND send a command to start the sounds.
For a more prototypical railroading experience, your decoder can be
customized for your specific locomotive by programming some of the
Configuration Variables, or CVs, available. Before customizing the de-
coder it is useful to run it on the factory default address 03 to check the
installation. Digitrax Sound decoders can be programmed using either
a programming track or with the operations mode using the main line.
The following sections show how to change the locomotive address and
customize the decoder. See the Digitrax Decoder Manual or the Digitrax
web site for more information.
CAUTION: Programming track must not exceed 16V when
programming this decoder.
© 2016 Digitrax, Inc.
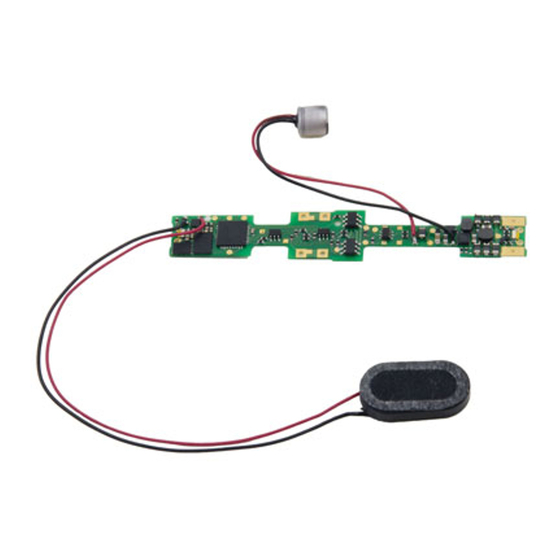
100uF Capacitor
— 3 —
8 Ohm 10 mm x 18 mm Oval
Speaker
www.digitrax.com
