- ページ 5
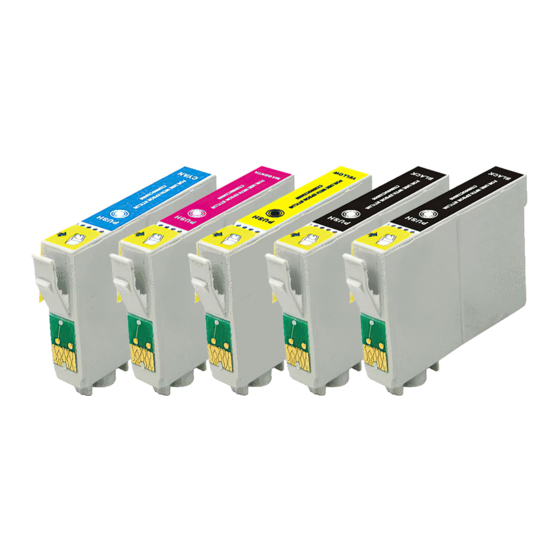
スキャナー Epson Stylus CX6000 SeriesのPDF マニュアルをオンラインで閲覧またはダウンロードできます。Epson Stylus CX6000 Series 19 ページ。 Ink cartridge for use with stylus cx5000; cx6000; cx7400; cx8400; cx9400f; cx9475f printers;
Epson Stylus CX6000 Series にも: スタート・ヒア・マニュアル (8 ページ), 更新 (1 ページ), マニュアル (4 ページ)

4. Insert the paper, printable side up, against the right edge
guide and beneath the tabs. (The printed side is whiter or
brighter on some papers.) Always load paper short edge first,
even for landscape printing.
Place paper beneath the tabs
You can load up to 100 sheets of plain paper and up to
20 sheets of photo or matte paper. (See page 6 for capacity
guidelines on other paper types.)
Note:
The type of paper you choose affects the way your printout
looks, so be sure to select the correct paper for your job. If you
are just making a copy or printing a rough draft of an image, plain
paper is fine. However, for the best results, you'll want to use
one of Epson's special ink jet papers designed for your printer.
For example, your photos will look great printed on Epson Ultra
Premium Photo Paper Glossy (see page 1 for more information).
5. Slide the left edge guide against the left edge of the paper
(but not too tightly).
6. Flip the feeder guard back.
Follow these guidelines when loading paper:
❏ Don't load paper above the arrow on the left edge guide.
Make sure the paper is under the tabs on the left and right
edge guides.
❏ Load the printable side face-up. It's often brighter or whiter
than the other side.
❏ Always load the short edge first, even when printing in
landscape mode.
❏ Load letterhead or preprinted paper into the printer top
edge first.
❏ If you experience paper feeding problems, try loading fewer
sheets.
❏ If you're using special paper, check the package for special
loading instructions.
Envelopes
1. Open the paper support and slide out the extensions.
2. Open the output tray and pull out the extension.
3. Set the paper thickness lever to the ^
6/06
Epson Stylus CX6000 Series
position.
H
5
