- ページ 37
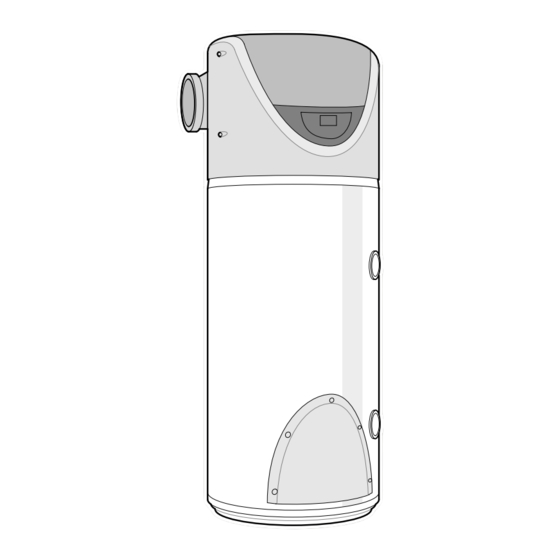
ウォーターヒーター Ariston NUOS FS 200のPDF 取り付けと点検の手順をオンラインで閲覧またはダウンロードできます。Ariston NUOS FS 200 44 ページ。 External air source heat pump water heater

CAUTION
Do not switch on power to
the appliance until it has
been installed in its vertical
position for at least 3 hours.
NOTE
For operating instructions, see
section 3.
This manual and supplements must
be left with the end user together
with the Benchmark Logbook.
3.9 Cylinder TPRV - check its operation; with the water supply on, turn
the TPRV test knob and check water discharges to tundish, ensure
the valve closes after testing.
3.10 Combination Valve PRV - check its operation; with the water supply
on, turn the PRV test knob and check water discharges to tundish,
ensure the valve closes after testing.
3.11 Discharge pipe (D1) - open either TPRV or PRV gradually to produce
a full bore discharge into tundish and D2 and check there is no back
pressure, and that the water flows freely to drain.
3.12 Pressure Reducing Valve (PRV) - check that the correct outlet
pressure is being maintained by measuring the pressure at an in-line
terminal fitting e.g. a tap.
STAGE 4 - DRAIN SYSTEM
4.1 Turn off incoming mains stop cock.
4.2 Using hose and suitable containers, drain all water from the cylinder
and pipework using drain cocks.
4.3 Remove and clean in-line strainer of combination valve.
STAGE 5 - CLEANING THE SYSTEM
5.1 Using proprietary chlorination product, chlorinate the domestic hot
water system as per manufacturer's instructions.
5.2 Drain the system as 5.2, then fill and drain to flush as many times as
recommended by the chlorination product manufacturer.
5.3 Refill system.
STAGE 6 - SETTING AND TESTING CONTROLS
6.1 Switch on NUOS electric isolating switch.
6.2 For commissioning use the factory default settings, no changes to
parameters should be required.
6.3 Set NUOS into operation, and when hot check for leaks.
6.4 Check operation of any open flue appliances that could be affected
by air movement through the NUOS.
6.5 Test operation of boost button.
6.6 Fill in details in the Benchmark Logbook.
STAGE 7 - HANDING OVER
7.1 Complete the Benchmark Logbook.
7.2 The Installer should re-check the system and ensure it is completely
satisfactory before demonstrating to the end user.
7.3 The end user should be aware of the following:-
1.
The most cost effective use of the NUOS system using the
economy settings.
2.
How to set the temperature of the tap hot water.
3.
How to set 'Voyage' and other optional modes.
4.
The function of the combination valve's PRV and that over
pressure will cause steam and scalding water to be emitted
from the discharge pipes.
5.
That the tundish is supplied as a visual identification for over
pressure.
6.
The procedure to follow in the event of over pressure.
37
37
