- ページ 39
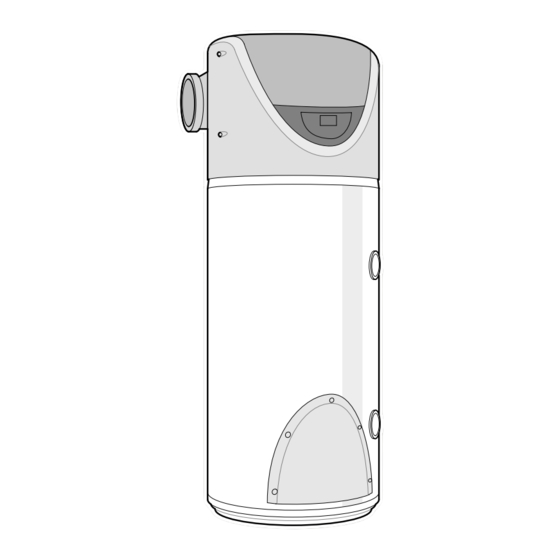
ウォーターヒーター Ariston NUOS FS 200のPDF 取り付けと点検の手順をオンラインで閲覧またはダウンロードできます。Ariston NUOS FS 200 44 ページ。 External air source heat pump water heater

8.2 R
M
OUTINE
AINTENANCE
Note:
The inclusion of a water softener
on the supply to the NUOS may
cause the sacrificial anode to
rapidly deplete. It may therefore
be necessary to replace the
anode more regularly.
The following procedure should be carried out to ensure the efficient
operation of the NUOS.
1.
Check operation of the electric heater element.
Check anode every year and replace as required depending on its
deterioration - see note.
2.
Remove top cover and brush and vacuum enclosure. Clean
evaporator and fan removing all dust etc. from it's fins, using a vacuum
cleaner in 'blow' mode is ideal.
3.
Clean air ducts and grilles (where applicable).
4.
Clean casing with non-abrasive household cleaner.
5.
Remove control panel cover and carefully blow out dust and debris.
Check cable connections are sound.
6.
With the water supply turned off remove the strainer from the
combination valve and clean off any debris and rinse in water.
7.
Expansion vessel - with the water supply turned off and taps open,
check expansion vessel pressure and top up as necessary.
8.
Cylinder TPRV - check its operation; with the water supply on, turn
the TPRV test knob and check water discharges to tundish, ensure
the valve closes after testing.
9.
Combination Valve PRV - check its operation; with the water supply
on, turn the PRV test knob and check water discharges to tundish,
ensure the valve closes after testing.
10. Discharge pipe (D1) - open either TPRV or PRV gradually to produce
a full bore discharge into tundish and D2 and check there is no back
pressure, and that the water flows freely to drain.
11. Pressure Reducing Valve (PRV) - check that the correct outlet
pressure is being maintained by measuring the pressure at an in-line
terminal fitting e.g. a tap.
39
39
