- ページ 5
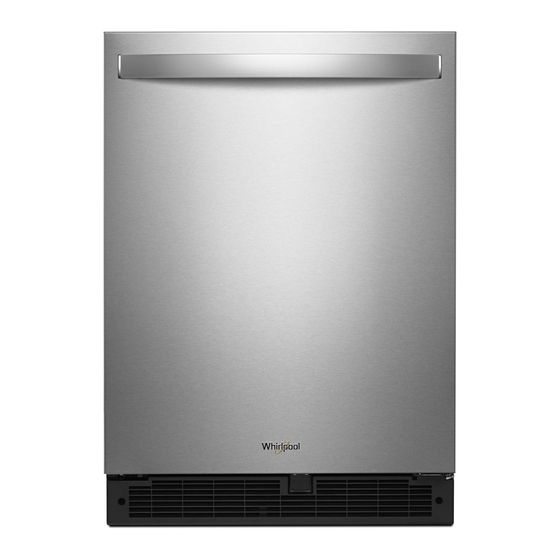
冷蔵庫 Whirlpool WUR50X24HZのPDF 取扱説明書をオンラインで閲覧またはダウンロードできます。Whirlpool WUR50X24HZ 32 ページ。 Under counter refrigerator
Whirlpool WUR50X24HZ にも: 取扱説明書 (36 ページ), 取扱説明書 (36 ページ)
Clean Before Using
After you remove all of the package materials, clean the
inside of your Refrigerator before using it. See the cleaning
instructions in "Refrigerator Care".
Important information to know about glass shelves and
covers:
Do not clean glass shelves or covers with warm water when
they are cold. Shelves and covers may break if exposed to
sudden temperature changes or impact, such as bumping.
Tempered glass is designed to shatter into many small,
pebble-size pieces. This is normal. Glass shelves and
covers are heavy. Use both hands when removing them to
avoid dropping.
Reverse Door Swing (optional)
Before you move your Refrigerator into its final location, it
is important to make sure you have the proper electrical
connection.
Tools Needed:
Phillips screwdriver and an 8 mm wrench (or 5/16" in wrench).
1. Unplug Refrigerator or disconnect power.
2. Using the screw driver, remove the screws from each side of
the top of the Refrigerator cabinet and set aside.
NOTE: There are seven screws total. Do not discard.
3. Remove the top hinge and set aside.
4. Lift the door straight up and off the bottom hinge.
5. Set door lying flat with gasket facing up. Door should
be placed on a debris free surface such as cardboard or
blanket to avoid scratches.
6. Remove the screws (B) fastening the black metal door
stopper (C) and re-attach it on the opposite side.
BOTTOM VIEW
7. Remove the screws from each side of the kickplate and set
aside.
C
B
A
8. Pull out the kickplate and set aside.
9. With the wrench, remove the screws (A) fastening the
bottom hinge (B) to the Refrigerator cabinet and set aside.
There are four screws total.
Using the screwdriver, remove the screw (C) fastening the
10.
plastic hinge door latch (E). Set screw aside. Then, unscrew
the bottom hinge shaft (D) and plastic hinge door latch (E)
and set aside.
11.
Flip over the bottom hinge on the opposite side. As shown in
the images below and reverse the process in step 10.
12.
Move hinge to the opposite side and completely tighten the
screws (four total).
C
E
D
B
A
13.
Reattach the base grill and tighten with the two screws
provided.
14.
Place the door straight down and on the bottom hinge.
15.
Fasten the top hinge with three silver screws and move the
remaining four screws to the opposite side. Completely
tighten all seven screws.
C
E
D
B
A
C
E
D
B
A
5