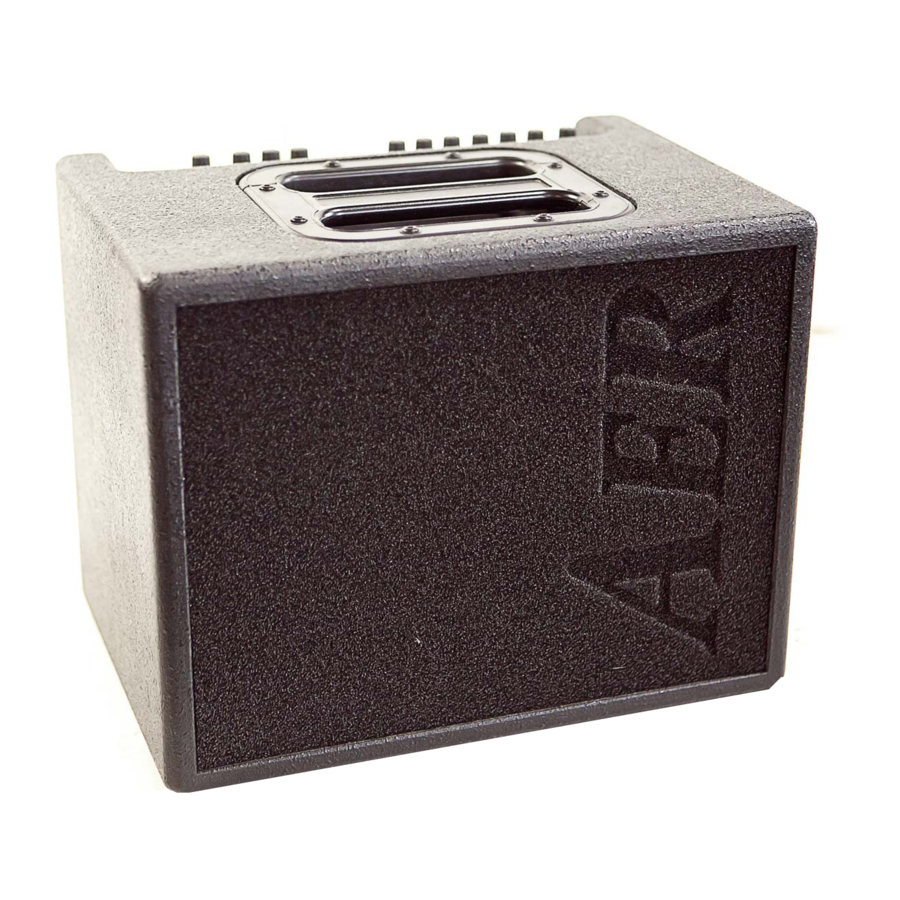
- ページ 7
楽器アンプ AER COMPACT 60 2のPDF ユーザーマニュアルをオンラインで閲覧またはダウンロードできます。AER COMPACT 60 2 10 ページ。 Amplifier
AER COMPACT 60 2 にも: 取扱説明書 (8 ページ)

- 1. Table of Contents
- 1. 1 Introduction
- 2. 2 Safety Instructions
- 3. 3 Controls and Connections
- 3. Front Side
- 3. Rear Side
- 4. 4 Starting up
- 4. Cabling and Switching-On
- 4. Level Adjustment
- 5. 5 Functional Characteristics
- 5. Equalization
- 5. Effects
- 5. Footswitch
- 5. Phantom Powering
- 6. 6 Technical Specifications
- 7. 7 Circuit Diagram
5.2 Effects
The Compact 60
has a built-in (internal) digital ef-
2
fect processor, with the select-switch you can choose
between 4 different effects:
1 = reverb 1 (short)
2 = reverb 2 (long)
3 = delay (320 ms)
4 = chorus
The efx-level-control determines the intensity of the
internal effects (left stop = no effect).
Furthermore an additional effects unit (external ef-
fect) may be connected to the Compact 60
purpose use the send and return sockets on the rear
side of the amplifier (send goes to input, return to
the output of the external effects device). The inten-
sity of the effect is adjusted at the external effects
unit.
With the efx-pan control the different effects are
blended with the original signal. The efx-pan works
as follows:
left stop:
internal effect on channel 1
external effect on channel 2
mid position:
internal effects on channel 1 + 2
external effects on channel 1 + 2
right stop:
internal effects on channel 2
external effects on channel 1
5.3 Footswitch
A standard double-footswitch (on-/off-switch) can be
plugged into the footswitch-socket on the rear side
of the amplifier via stereo cable. By this footswitch
the internal and external effects can be switched on
and off.
5.4 Phantom power
Microphones requiring 48V phantom power can be
connected to the XLR-socket of channel 2 directly.
Factory-provided phantom power is activated but, if
required, may be deactivated by an internal jumper.
In contrary 9V phantom power, if required, can ad-
ditionally be activated in channel 1 by an internal
jumper.
Please note: For both alterations the device must be
opened, therefore only qualified service personnel
may carry out the modifications concerning the de-/
. For this
2
activating of phantom power.
General Note: Use of 48V or 24V phantom po-
wer
(Phantom power = remote supply, here: powering
an audio device via the connected audio line)
Turn on the phantom power only if the unit connec-
ted to an XLR socket that is designed to handle it!
In general, suitable units are e.g. condenser micro-
phones, active DI-boxes and other special audio
devices, whose power supply is drawn from the
phantom power. Such devices are also labelled ac-
cordingly; please heed the permissible power con-
sumption (max.10mA).
High-quality dynamic microphones with a balanced
signal need no phantom power, but can handle it
anyway.
Other devices, which have not been designed expli-
citly for phantom power operation, can suffer from
considerable malfunctions and damage may result as
well.
Examples of devices that may be damaged by incor-
rect application of phantom power include:
Low-cost dynamic microphones with a mono jack-
plug (unbalanced signal) that were fitted afterwards
with an XLR connector.
Audio devices with a balanced XLR output (e.g. DI-
boxes, effects devices, instrument preamps with a DI
output etc.) which are not protected against phan-
tom power applied to their XLR output. (The DI con-
nectors on AER products are protected against ap-
plied phantom power.)
Other audio devices (such as preamps, effects pedals
etc.) whose unbalanced line output was replaced by
an XLR socket.
If in doubt please consult the manufacturer of the
device you are using.
7
