®
Xerox
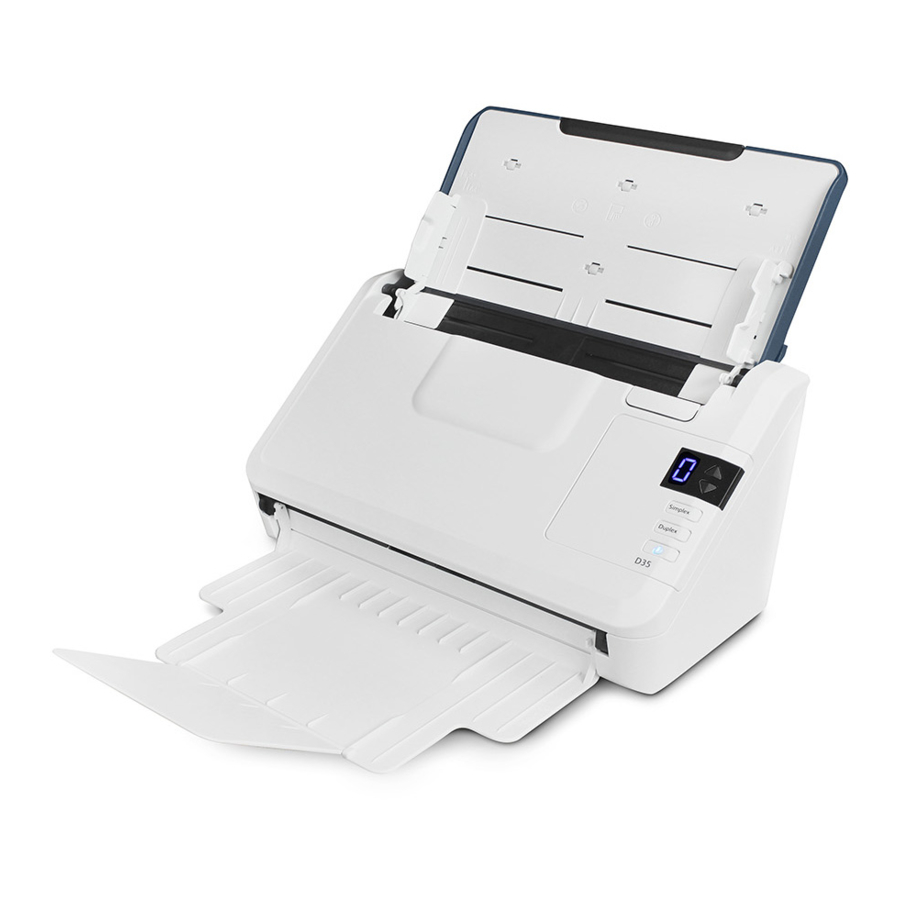
D35
7.
Slide the friction roller on the bar. Insert the friction roller left side first until it's properly
inserted in the slot. Make sure the left side of the bar is facing up.
8.
Push the left side, then the right side of the roller into place.
9.
Close the friction roller cover when you are finished.
ERROR LIGHT TROUBLESHOOTING CODES
Normal Operation
•
Steady blue: indicates the scanner is ready to scan.
•
Slow flashing blue: indicates the scanner is in low power mode.
•
Rapid flashing blue: indicates the scanner is waking up from low power mode.
•
Steady red: the scanner is busy.
•
Flashing red: the scanner is reporting an error.
Error Codes
The status light indicates the current state of the scanner. If your scanner experiences hardware
problems, the status light turns red and will flash a specific number of times, pause, and then
repeat the same number of flashes. The number of flashes between pauses indicates the
hardware error code. The LED display will also flash an "E" then the error code number that
matches the status light's blinking pattern.
Descriptions of the most common patterns are listed below. In all cases, you should turn off the
scanner and check the scanner setup. Make sure the USB cable is plugged into the scanner and
computer. Make sure the power cord is plugged into the scanner and into a wall outlet. Contact
Xerox Technical Support if you experience a different blinking pattern.
Error Code
Problem
Description
Scanner is not
0
connected to the
computer
(The LED does not
flash "E" and the
status light
remains blue.)
The scanner was
3
locked when you
tried to scan.
4
Paper jam
6-12
Scanner Options, Maintenance and Troubleshooting
Solution
A cable may be loose. Check that the
scanner's cables are correctly
attached to the computer. If the
scanner still does not connect, re-
boot the computer.
Turn off the scanner, slide the locking
tab to the unlocked position, then
turn the scanner back on. If the
problem persists, reboot your
computer.
Open the ADF cover and remove the
jammed page. See Clearing Paper
Jams on page 6-3.
User Guide