- ページ 16

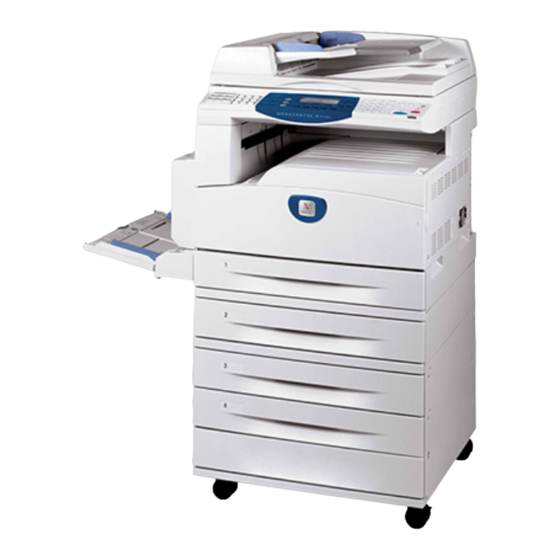
ソフトウェア Xerox WorkCentre M118のPDF ソフトウェアマニュアルをオンラインで閲覧またはダウンロードできます。Xerox WorkCentre M118 47 ページ。 Drum cartridge remanufacturing
Xerox WorkCentre M118 にも: ユーザーマニュアル (2 ページ), モジュール・マニュアル (2 ページ), クイック・インストール・カード (2 ページ), クイック・セットアップ・マニュアル (5 ページ), クイック・セットアップ・マニュアル (5 ページ), マニュアル (28 ページ), スタンド設置マニュアル (4 ページ), インストレーション・マニュアル (2 ページ), インストレーション・マニュアル (2 ページ), インストレーション・マニュアル (2 ページ), インストレーション・マニュアル (2 ページ), インストレーション・マニュアル (2 ページ), インストレーション・マニュアル (1 ページ), インストレーション・マニュアル (1 ページ), スタートマニュアル (25 ページ), 評価者マニュアル (12 ページ), サービスマニュアル (12 ページ), 再製造の指示 (14 ページ)

Xerox WorkCentre M118 ソフトウェアマニュアル
3 Operation with Windows NT 4.0

Hardware/Software Requirements

The minimum system requirements for the Windows NT 4.0 printer driver are described
below.

Computer System

Personal computer on which the Windows NT 4.0 operating system can operate.

Basic Software

Windows NT Workstation 4.0/Windows NT Server 4.0 (Service Pack 6a or later)

Installing the AdobePS Printer Driver

Install the AdobePS 5.2.2 printer driver onto Windows NT by following the procedure
below.
It is possible to cancel installation of the printer driver by clicking [Cancel] in the dialog
box displayed during installation. You can also click [Back] to delete the settings in that
dialog box and return to the previous dialog box.

Installation Procedure

1.
Start Windows NT 4.0.
NOTE: Log on as a Power User group member or an Administrator. Refer to the
Windows NT 4.0 documentation for details about the Power User group.
2.
On the Start menu, point to Settings and click [Printers].
3.
In the Printer window, double-click [Add Printer].
4.
Select how the printer is connected to the computer and click [Next]. Select [My
Computer] if the printer is connected directly to the computer or to the network in
the TCP/IP(LPD) environment. Select [Network printer server] in other cases. The
following is an example of a local printer.
NOTE: Specify the target printer in the Connect to Printer dialog box if you selected
[Network printer server].
5.
Select the port you are using and click [Next].
6.
Insert the PostScript Driver Library CD-ROM in the CD-ROM drive.
7.
Click [Have Disk].
8.
Enter "Drive Name:\English\PrinterDriver\NT40" in the "Copy manufacturer's files
from:" box and click [OK].
In this guide, we have used "E:" as the CD-ROM drive. If you are using a different
drive for the CD-ROM, specify accordingly.
NOTE: Click [Browse] to specify a folder on the CD-ROM.
16
Xerox WorkCentre 118 Postscript® User Guide