- ページ 2
リモコン eControls WRCのPDF ユーザーマニュアルをオンラインで閲覧またはダウンロードできます。eControls WRC 2 ページ。 Wireless remote control for direct damper control

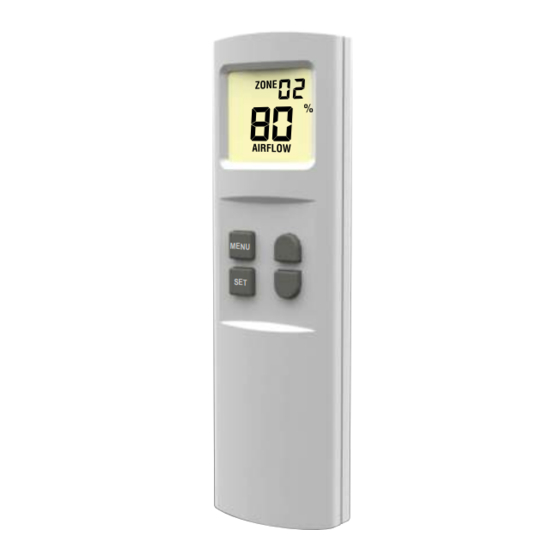
Selecting the Zone
Number
Press and release the SEL key and the LCD will show the
Zone number. Use the Up and Down keys to change the Zone
number, and press the ENT key. The new Zone number and
Airflow will be displayed. Zones or diffusers are numbered 1 to
32.
Selecting the Address
Number
Select a unique address number corresponding to the
department, floor or building. Press and release the SEL key
twice and the LCD will show the Address number. Use the Up
and Down keys to select the Address, and press the ENT key.
Setting the Damper Zone
and Home Address
The WCD Damper Actuator must be programmed to receive
the remote commands corresponding to the selected Zone
and Address numbers. After selecting the Zone and Address
numbers as previously described, press the small pushbutton
switch on the WCD Damper Actuator. The LED will alternately
blink red and green. During the next 30 seconds, the Zone and
Address can be programmed into the WCD Damper Actuator.
Press and release the SEL key three times until PRG DPR
appears in the lower left corner of the LCD. Press the ENT key
and the WCD Damper will be programmed with the Zone and
Address number.
ZONE
ADR
ZONE
PRG DPR
Adjusting Airflow
After selecting the Zone number, press the Up and Down keys
to set the Airflow. Pressing the ENT key sends the new Airflow
setting to the WCD Damper.
Low Battery Warning
When batteries are low, the display will show "Lob" and the
batteries should be changed. Lithium AAA batteries should be
used for longer life.
3-Year Limited Warranty
This is a "Limited Warranty" which gives you specif rights. You may
have other rights which vary from state to state.
For a period of three years from the date of purchase, any malfunction
caused by factory defective parts or workmanship will be corrected at
no cost to you. See the complete Warranty at eControlsUSA.com.
2
ZONE
%
AIRFLOW
ZONE
%
AIRFLOW
Remove battery cover
and install two AAA batteries
as shown.
