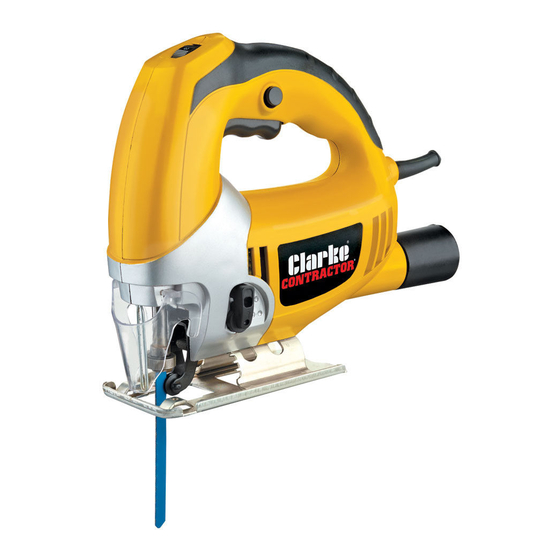
INSTALLING/CHANGING BLADES
1. Use only jigsaw blades with the
correct T-shank.
2. With the jigsaw disconnected
from the power supply, raise the
blade guard and press the blade
retainer to the right hand side.
3. Select the appropriate blade for
the job in hand, and insert it into
the blade holder as far as it will go
with the teeth facing forwards.
4. Release the blade retainer, ensuring that the blade remains as far into the
retainer as it will go, pressing against the resistance of the internal spring.
5. Pull the blade to check that it is secure before restoring the power supply.
• Take care never to use cracked, blunt or damaged blades.
OPERATION
IMPORTANT: DO NOT plug in to the mains, unless you have ensured the
jigsaw is switched OFF. To do this, squeeze the trigger fully upwards, then
release it. The trigger is located under the grip.
1. Ensure that the workpiece being cut is securely held in place and that the
cut line is clearly marked.
2. Connect the vacuum extractor port to an extract system where possible.
• The jigsaw is provided with a dust extract facility, where a vacuum
extractor may be connected to the rear of the machine. Please
note however, that this does not preclude the user from wearing a
face mask to prevent the inhalation of dust particles.
3. Place the sole-plate on the workpiece taking care that the blade is vertical
and correctly positioned in relation to the cut line without touching it. Push
the clear plastic blade guard down fully.
4. Ensure the blade is not striking anything below the workpiece and that the
power cable is well away from the moving blade before starting the saw.
• If cutting out an aperture it will be necessary to drill a suitably sized
hole in the workpiece for use as a starting point.
• Note that the blade should emerge from the workpiece at every
point of the cut.
Parts & Service: 020 8988 7400 / E-mail: [email protected] or [email protected]
8
