- ページ 25

レーダー Blackberry Radar H2のPDF インストレーション・マニュアルをオンラインで閲覧またはダウンロードできます。Blackberry Radar H2 30 ページ。 Dry van, insulated trailers roll-up doors
Blackberry Radar H2 にも: インストレーション・マニュアル (33 ページ), インストレーション・マニュアル (26 ページ), インストレーション・マニュアル (25 ページ), インストレーション・マニュアル (32 ページ), インストレーション・マニュアル (33 ページ), インストレーション・マニュアル (34 ページ), インストレーション・マニュアル (35 ページ), 取扱説明書 (33 ページ), インストレーション・マニュアル (32 ページ), インストレーション・マニュアル (26 ページ), インストレーション・マニュアル (25 ページ), インストレーション・マニュアル (28 ページ)
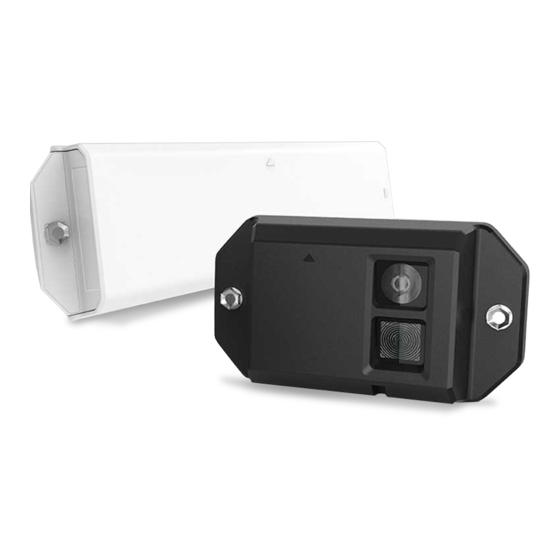
Blackberry Radar H2 インストレーション・マニュアル
BLACKBERRY RADAR H2 ITC100-1 INSTALLATION GUIDE 25

3.4.4 Cargo van installation procedure (doors with windows)

As mentioned in Section 3.4.3, if you wish to monitor door open/close events with
your BlackBerry Radar-L module, you will need to mount it on the door. If your van
has windows, and you don't have adequate space above the window to mount the
module, you will need to mount it lower on the door. In this section, we will discuss
recommended installation tools and procedures for this scenario
As you consider the best placement on your asset, please consider the following:
For vans with double doors, the module should be placed on the door with the latch
and as close to the inside edge of this door as the door construction allows.
Mounting the module on the door with the latch will ensure all door open/close
events are registered--even in instances where only one door is opened.
Often, when the module must be placed below the window, you will encounter a
"blind" mounting situation where the thickness of the door prevents you from
installing nuts on the rear of the bolts. On many vehicles, the sheet metal is too thin
to support secure mounting with self-tapping screws. Frequent removal and re-
installation of these fasteners to replace the battery module or exchange modules,
can also enlarge the hole, further making the attachment less secure. To allow for
most secure device mounting in these instances, a threaded insert (i.e., well nuts)
are recommended for use with the selected mounting bolts.