- ページ 10
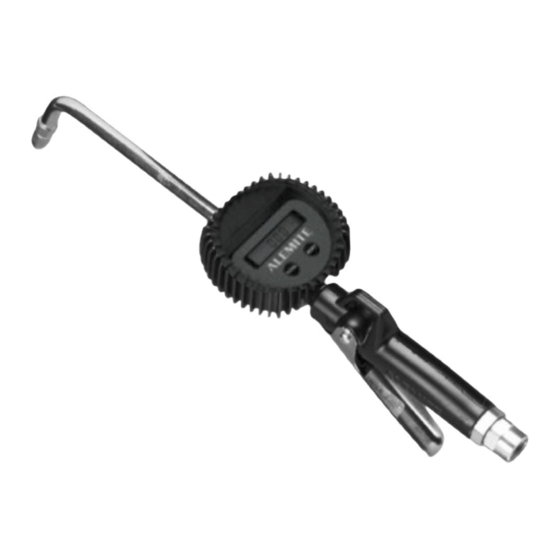
コントロールユニット Alemite 3620のPDF サービスマニュアルをオンラインで閲覧またはダウンロードできます。Alemite 3620 11 ページ。 Electronic-metered control valve

SER 3620
Prime and Test
NOTE: Perform the following procedures at
an air pressure that allows the pump to begin
to cycle. Regulate the amount of air to the
pump with a pressure regulator.
Should valve leakage occur at anytime, refer
to the Control Valve Troubleshooting
Chart.
5. Point the control valve into an appropriate collection
container.
6. Allow the pump to deliver fluid to the control valve.
• The control valve should show no leakage nor
dispense the product.
Control Valve Troubleshooting Chart
Control Valve Indications
Continuous product flow
No product flow
Leakage at Swivel
Assembly (39)
Leakage at Cam (43)
Leakage at front end of Nozzle
Leakage at Extension Assembly 1. Initial tightening not sufficient
Safety on Lever Assembly (40)
does not engage
Latch on Lever Assembly (40)
does not release
* Do not apply thread sealant to the first two (2) threads. Contamination can occur.
Revision (11-05)
1-800-548-1191-http://[email protected]
to the Control Valve Troubleshooting Chart.
should appear at the Nozzle. If product does appear, refer to
the Control Valve Troubleshooting Chart.
to Service Guide SER 3630 for details.
Possible Problems
1. Foreign material on Seal (33)
2. Seal (33) worn or damaged
Manual Nozzle (8, 12, or 16) not open
1. Initial tightening of Swivel Assembly (39)
not sufficient
2. O-Ring (38) worn or damaged.
O-Rings (42) worn or damaged.
Nozzle damaged
2. Thread sealant missing or inadequate
1. Broken spring in Lever Assembly (40)
2. Foreign material in Lever Assembly (40)
3. Worn or damaged Compression Spring (36)
1. Broken spring in Lever Assembly (40)
2. Foreign material in Lever Assembly (40)
3. Worn or damaged Compression Spring (36)
Changes Since Last Printing
Added Model 3621-B
10
Electronic-Metered Control Valve
7. Cycle the control valve Lever Assembly several times.
• Product should flow once air is eliminated from the
control valve (and system).
If the control valve does not dispense the product, refer
With the Lever in the released position, no product
Should the electronic meter not function properly, refer
1. Disassemble, clean, and inspect
seat area. Check mating surfaces
and replace Seal (33) as necessary.
Locate and eliminate source of
foreign material. Clean Strainer
(37)
2. Use Kit 393676
Open Nozzle (8, 12, or 16)
1. Tighten Swivel Assembly (39)
2. Replace O-Ring (38)
Replace O-Rings (42)
Replace Nozzle
1. Tighten leaking connection
2. Apply thread sealant* to male pipe
threads
1. Use Kit 393677
2. Clean Lever Assembly (40)
3. Replace Compression Spring (36)
1. Use Kit 393677
2. Clean Lever Assembly (40)
3. Replace Compression Spring (36)
Solutions
Alemite LLC
