- ページ 9
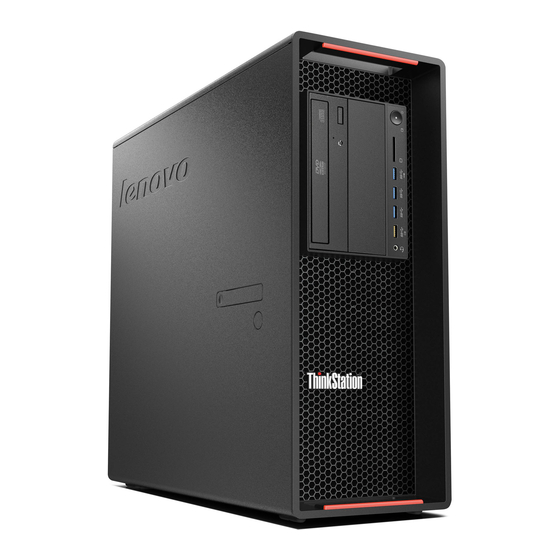
デスクトップ Lenovo ThinkStation P910のPDF 設定マニュアルをオンラインで閲覧またはダウンロードできます。Lenovo ThinkStation P910 49 ページ。 How to create and
configure raid arrays
Lenovo ThinkStation P910 にも: ハードウェア構成 (35 ページ)

3. Once the BIOS setup window is visible, use the left and right arrow keys to select the 'Startup'
tab. From this tab, use the up and down arrow keys to select 'CSM Configuration'.
4. For Windows 7: Under 'Storage', change the setting from "Legacy" to "UEFI" and press F10 key
to save and exit the BIOS setup menu.
For Windows 8 & Windows 10: Under 'Save & Exit', change the setting for "OS Optimized
Defaults" from "Disabled" to "Enabled" and press F10 key to save and exit the BIOS setup menu.
5. During the system reboot, enter BIOS setup using the F1 key when prompted. Once the BIOS
setup window is visible, use the left and right arrow keys to select the 'Devices' tab. From this
tab, use the up and down arrow keys to select "PCH S-SATA Configuration".
