- ページ 9
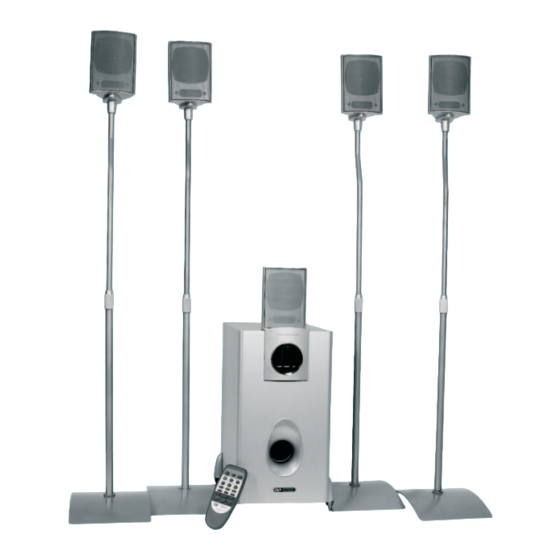
ホームシアターシステム ACOUSTIC SOLUTIONS DS 1133のPDF 取扱説明書をオンラインで閲覧またはダウンロードできます。ACOUSTIC SOLUTIONS DS 1133 13 ページ。

SYSTEM FUNCTION AND OPERATION
1. First make sure that all connections are correctly made:
• Connect the power plug to a suitable mains socket and switch the
DS 1133 system ON using the power switch (6, page 3).
2. Select the desired input:
• Select AUX (1, page 4) on the remote control unit to listen to the
analogue stereo sound source connected to the AUX inputs on the
rear panel.
• Select COAXIAL (3, page 4) on the remote control unit to listen to
the digital audio source connected to the COAXIAL input connector on the
rear panel.
• Select OPTICAL (2, page 4) on the remote control unit to listen to
the digital audio source connected to the OPTICAL input connector on
the rear panel.
3. Listening mode selecting:
• When listening to a coaxial or optical input source, the DS 1133 will
automatically detect whether the signal is Dolby Digital, DTS or Stereo.
• When listening to an AUX input source, pressing the DSP EFFECT
buttons (4, page 4) allows you to select one of the Dolby Digital
listening modes: Matrix, Live, Church, Stadium, Hall, Chorus or Theatre.
• When listening to a AUX input source you can add PRO LOGIC II
decoding to the signal. This will enable you to experience a virtual
surround sound from an otherwise stereo signal. There are two PRO
LOGIC II modes available (Music and Movie). Press the LISTEN MODE
button (7, page 4) to toggle between normal stereo, Pro Logic II Music
Mode or Pro Logic II Movie Mode.
NOTE: Many DVD discs support multi-soundtrack options, so the digital
signal input to the DS 1133 will be determined by the DVD player settings.
The DS 1133 stores the last settings when switched into standby. Settings
will be lost when switched off using the power switch on the back of the unit
or switch off the mains supply.
4. Adjusting the volume levels:
• The overall volume of the DS 1133 can be adjusted using the M.VOL
button on the remote control (9, page 4). Some DVD players have their
own volume controls which may adjust the volume of the DS 1133 at the
same time.
• You can set the channel levels individually using the C.S.SW TRIM
feature. Select which channel you wish to adjust using the C.S.SW TRIM
button on the remote control (14, page 4) and then adjust the volume
using the +/- buttons (5, page 4) in the range of +/-10 dB.
6. Adjusting the time delay of the centre and surround channels:
• Depending on the type of digital input being decoded, it is possible to
change the delay time of the signals heard in the centre (dialogue)
channel and the rear (surround) speakers. Pressing C.S DELAY (13, pg
4) allows you to select the centre or surround channels, and using the +/-
buttons (6 page 4) allows you to set the delay time of each channel
(centre channel delay time from 0 to 5 ms (milli-seconds), and the
surround channel from 15 to 30 ms).
7. Standby:
• If the DS 1133 is not going to be used for a while, selecting STANDBY
(15, page 4) switches the system into standby (power save) mode.
The standby indicator on the front panel will flash continuously to
indicate standby mode. Re-selecting STANDBY restores the system
to normal operation, with all previous settings.
NOTE: If the DS 1133 is not going to be used for a period of time, it is
recommended to switch OFF the system using the power switch.
8. Mute:
• To temporarily mute the sound output of the DS 1133, select MUTE (11,
page 4). The MUTE indicator on the front panel indicates the system is
muted. To restore the system to normal operation, reselect MUTE.
8
